








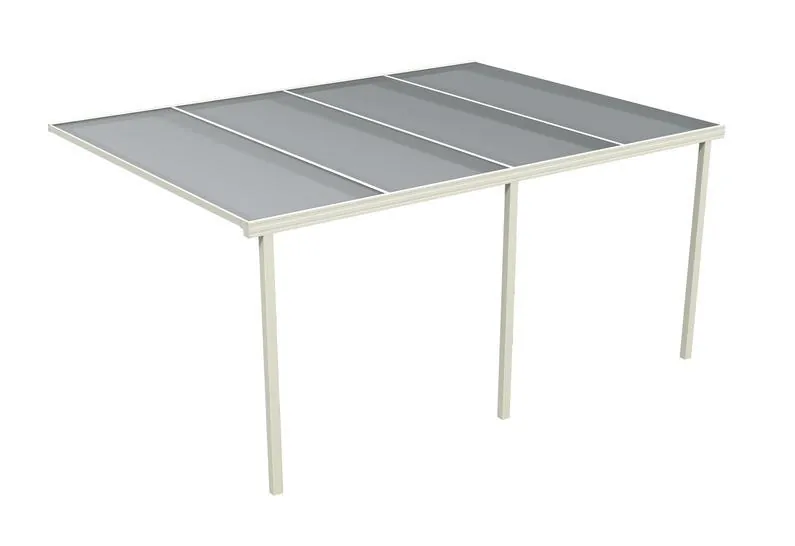
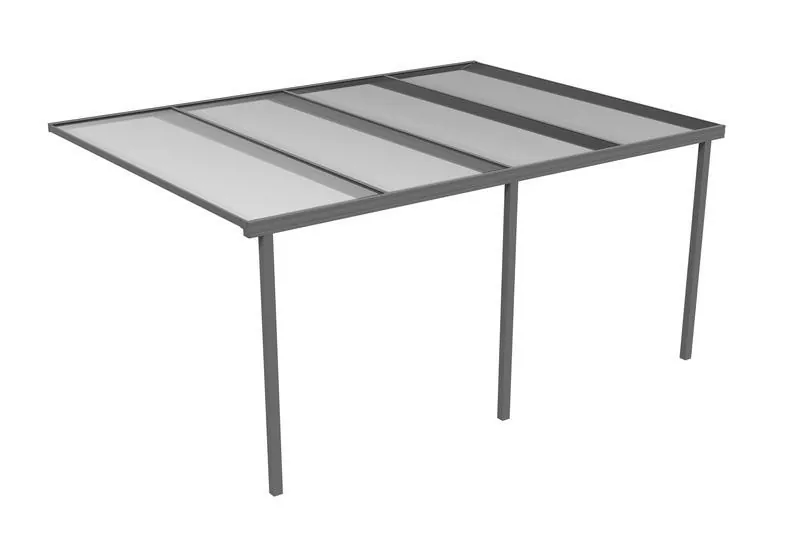
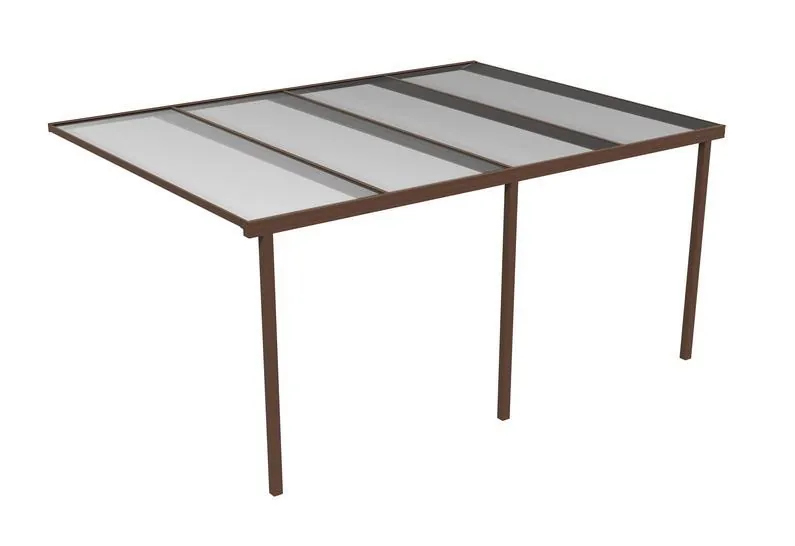

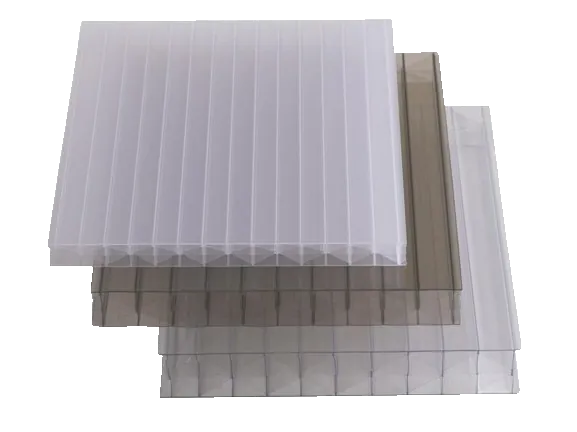

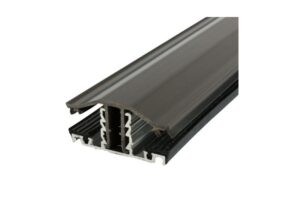
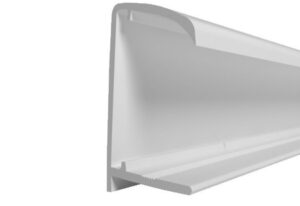
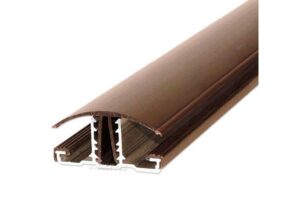
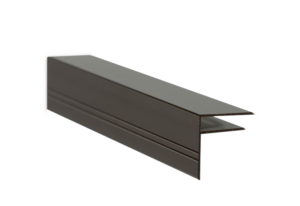
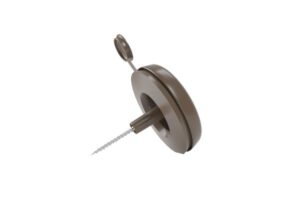
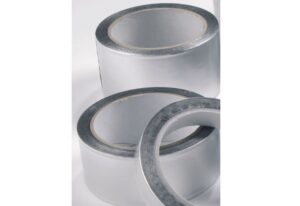
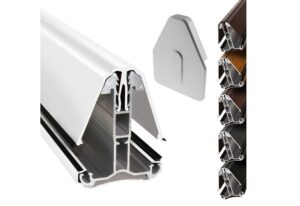
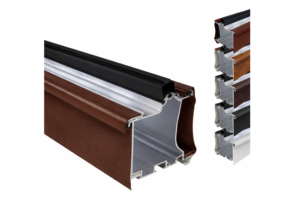
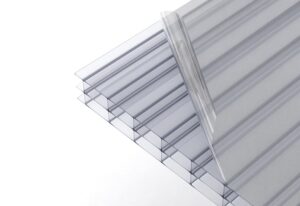
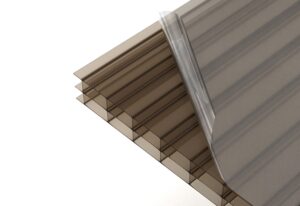
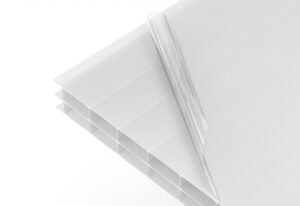
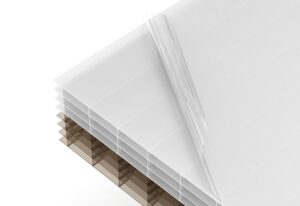
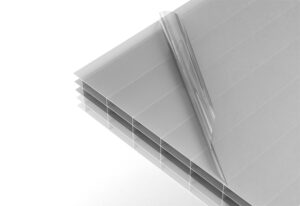
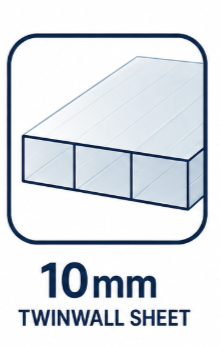
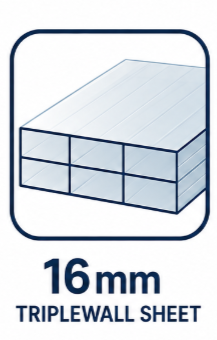
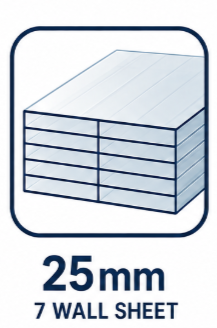
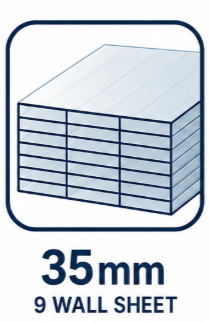
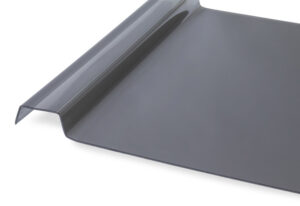
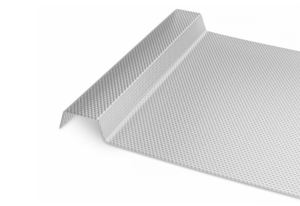
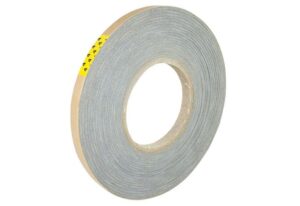
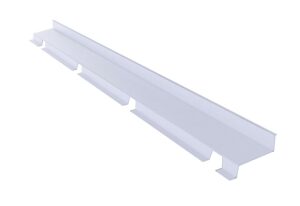



Rafter supported glazing bars join neighbouring multiwall polycarbonate sheets over a supporting timber rafter. An aluminium base fixes to the timber, rubber gaskets support and seal against the sheets, and a PVC snap-down cap holds the assembly together.
At The Polycarbonate Store, we supply Sunwood and Exitex snapdown glazing bars. Both need continuous rafter support, but their components and gasket preparation differ.
This guide covers timber-supported multiwall roofing. It does not cover self-supporting glazing bars, glass roofing or corrugated sheets.
Sunwood and Exitex: what is the difference?
Sunwood snapdown glazing bars include an aluminium base, PVC top cap, rubber gasket and one end cap. The supplied gasket is joined together and must be separated into two strips before fitting.
Exitex snapdown glazing bars also include an aluminium base, PVC top cap, rubber gaskets and one end cap. The gaskets are supplied pre-split. Check that they are correctly seated before installing the sheets, whether supplied loose or already positioned in the base.
Use matching components from the same range. Sunwood and Exitex top caps, bases and end caps should not be assumed interchangeable.
Check the advertised sheet thickness range carefully. For new installations using 25mm sheets, we recommend opting for the 25mm–35mm bar rather than its smaller profile, because the cap engages further into the locking mechanism.
Before you start
Prepare a drill, suitable HSS metal drill bits, timber pilot bits, screwdriver, measuring tape, suitable cutting equipment and eye protection.
You will also need compatible exterior-grade wood screws, prepared roofing sheets, matching end caps and the appropriate tapes, closures and edge profiles.
Keep bars straight and shaded before fitting. Follow our storage advice if installation is delayed.
Never stand or walk directly on polycarbonate sheets.
1. Check the rafters and roof pitch
Every rafter supported glazing bar needs firm, continuous support along its length. It must not bridge unsupported between occasional purlins.
For a 50mm-wide glazing bar, The Polycarbonate Store recommends 50–60mm wide rafters, with the bar centred on the timber.
Rafter depth, spacing, span and connections must also suit the roof and expected loads. The glazing bar holds the sheet edges; it does not replace the structural framework.
We generally recommend a 10° roof pitch unless the selected system specifies otherwise. Check the slope before fitting the bars.
2. Calculate the sheet widths
Choose the glazing bars and outer-edge arrangement before ordering cut-to-size sheets.
Do not order sheets simply to match the distance between rafter centres. Allow for the central aluminium upstand, sheet engagement and thermal movement.
Read our glazing bar deductions and sheet sizing guide for the relevant arrangement.
An end sheet finishing in an F-section may require a different width calculation from a sheet positioned between two glazing bars.
3. Cut and prepare the bars
Measure the required bar length against the roof detail, including the gutter and wall junction.
Cut the aluminium base and PVC cap using suitable tools. Keep the cuts clean and square, remove burrs and clear away swarf before positioning the sheets.
Check that the cap and base ends align as required for the matching end cap. Do not leave sharp aluminium edges against the polycarbonate.
4. Prepare the rubber gaskets
Sunwood
Separate the joined gasket carefully along its joining line to create two individual strips. Fit one strip into the retaining track on each side of the aluminium base. Press the locating portion fully into the track without stretching the rubber.
Exitex
The gasket strips are supplied pre-split. Check both strips and seat them properly in their retaining tracks.
For both ranges
Check that the gaskets are continuous, untwisted and evenly positioned. They cushion the sheets and help form the weather-resistant seal.
Do not stretch them to make a short length reach. Stretched rubber can retract later and leave gaps. Keep the sealing surfaces free from swarf, grit and sealant.
5. Select the screws and drill bits
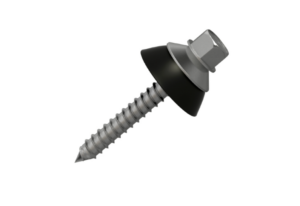
The screws fix the aluminium base to the timber rafter, through the centre channel between the toothed upright legs.
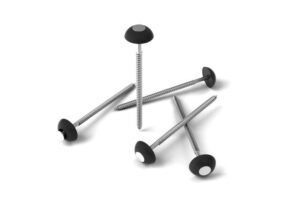
Our existing standard guidance specifies a No. 5 flat-head wood screw, with a head approximately 6mm in diameter, and gives 65mm length as an example. Check suitability against the actual bar and supporting timber before use.
Use exterior-grade screws with corrosion protection suitable for the aluminium and timber treatment. The head must fit within the channel without obstructing the snap-down cap.
No. 5 describes a screw gauge; it does not mean 5mm diameter. There is no single drill diameter suitable for every screw sold under these descriptions. Do not select a 5mm drill bit simply because the screw packaging says “No. 5”.
Use an HSS metal drill bit to make the clearance hole in the aluminium, sized to the selected screw and bar instructions. Drill the timber pilot separately using the screw manufacturer’s recommendation for the timber species.
Avoid bulky roofing-screw heads or large washers that interfere with the locking channel.
6. Mark and drill the aluminium base
Centre the base on its rafter and check alignment.
For our standard installation guidance:
- Position the first and last fixings approximately 75mm from each end.
- Space intermediate fixings no more than 400mm apart.
- Drill through the centre channel between the toothed legs.
Follow any different requirements supplied for the particular bar.
Drill before placing the polycarbonate alongside the base, and remove all swarf. Do not damage the toothed legs or gasket tracks.
7. Secure the base to the rafter
Fix the aluminium base firmly using the selected wood screws.
Keep it straight and fully supported. Seat the screw heads neatly without twisting the base, stripping the timber or crushing the profile.
Check that no screw head projects into the space needed by the cap’s locking legs.
8. Position the polycarbonate sheets
Prepare the sheets with the correct flute direction, UV-protected surface and end tapes before placing them on the gaskets.
Rest each edge evenly on the rubber. Do not push the sheet tightly against the central aluminium upright.
Retain the clearance specified for the sheet dimensions and glazing system, including movement along the sheet length. A small clearance beside the central upright does not replace the allowance needed at the upper and lower ends.
Peel protective film away from the areas that will be trapped beneath the cap.
9. Fit the snapdown top cap
Align the cap’s legs with the locking channel in the aluminium base.
Press it into place by hand, working progressively along the bar and engaging it evenly at the position appropriate for the sheet thickness.
Do not strike the PVC cap with a rubber mallet.
If it will not engage, stop and check the cap and base compatibility, sheet thickness, gasket position, screw-head clearance and alignment.
The finished cap should sit consistently along the bar, with the seals contacting the sheets evenly.
10. Fit end caps and finish the roof
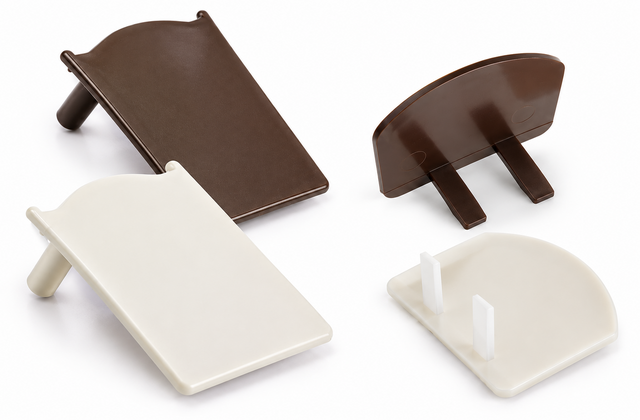
Fit the correct Sunwood or Exitex end cap to each exposed bar end.
Each complete bar includes one end cap. If you cut it into separate usable lengths, order additional matching caps.
Use a small amount of compatible sealant only where the fitting instructions require it. Do not fill the bar with silicone or block drainage routes.
Complete the sheet closures, outer-edge profiles and wall flashing. Our F-section installation guide and sheet closure fitting advice explain these separate components.
11. Check the installation
Check that bases remain fully supported, gaskets are seated, caps are evenly engaged and sheets retain their required movement allowances.
Remove remaining protective film as instructed and clear debris from the roof and gutter.
A correctly assembled gasketed bar should not need indiscriminate silicone along every joint. Investigate poor seating or misalignment before adding sealant.
For help selecting compatible bars and accessories, contact The Polycarbonate Store before ordering.
Glazing bar installation FAQs
Can these bars span between purlins?
No. Sunwood and Exitex rafter-supported snap-down bars require continuous supporting rafters. Self-supporting glazing bars are a different system with specified span limits.
Why must I split the Sunwood gasket?
The supplied joined gasket forms two separate sealing strips. Each strip belongs in its own retaining track on the aluminium base. Leaving them joined prevents correct installation.
Are Exitex gaskets always fitted already?
They are supplied pre-split. Check your delivered components and ensure both strips are seated correctly before fitting the sheets. Do not rely on packaging or transport to keep them in position.
Can I interchange Sunwood and Exitex caps?
Do not assume compatibility. Use the matching base, top cap, gaskets and end caps for the selected range.
Why will my top cap not snap down?
Common causes include an incorrect sheet thickness, displaced gasket, incompatible component, misalignment or an obstructing screw head. Check these before applying more pressure.
Should I screw through the polycarbonate inside the glazing bar?
No. The base fixings pass through the aluminium centre channel into the rafter. Separate fixing buttons may be required elsewhere by the sheet installation specification.
Can I use these snapdown bars for glass?
The bars covered here are intended for multiwall polycarbonate. Do not use them for glass without an explicitly suitable, separately specified glazing system.
How do I remove an existing top cap?
Remove relevant end caps first and use the correct capping-removal method or tool for the system. Support the sheets before releasing their restraint. Avoid levering against the polycarbonate, and inspect removed caps for damage before considering reuse.
Why does my glazing bar end cap keep falling off?
Check that it matches the bar, the cut ends are clean and aligned, and the locating parts are undamaged. Follow our glazing bar end cap troubleshooting guide before adding sealant.





Leave a Reply