








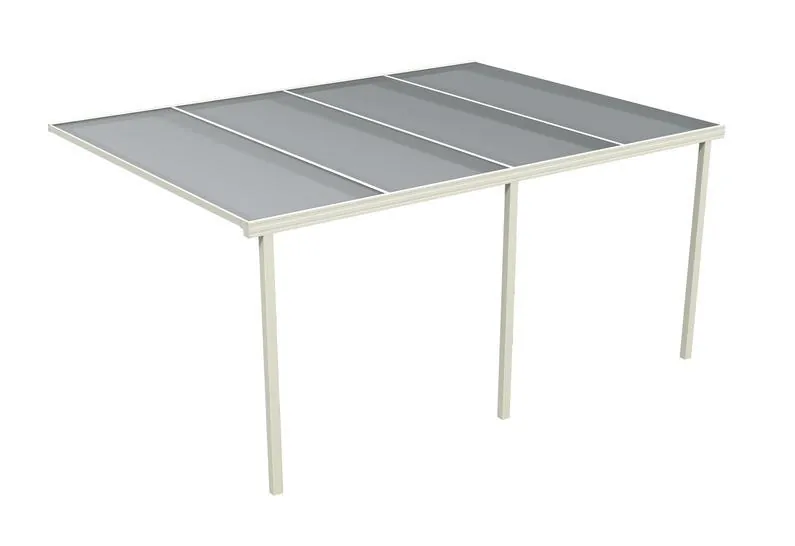
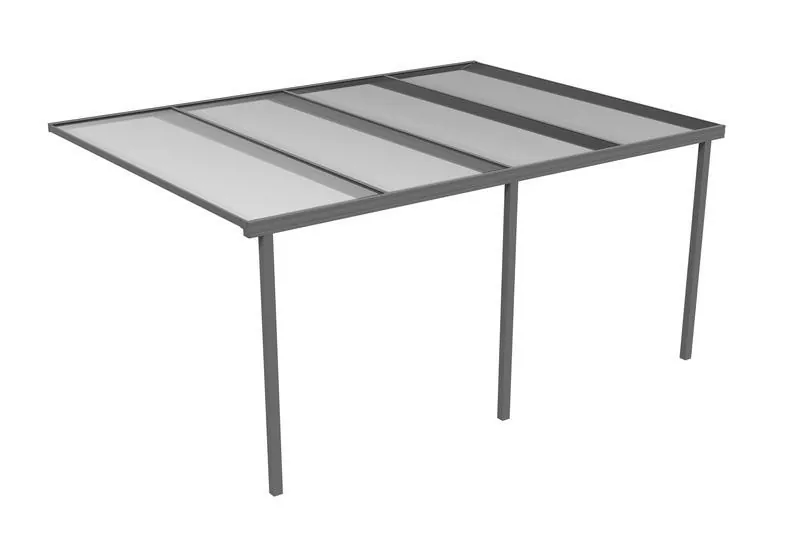
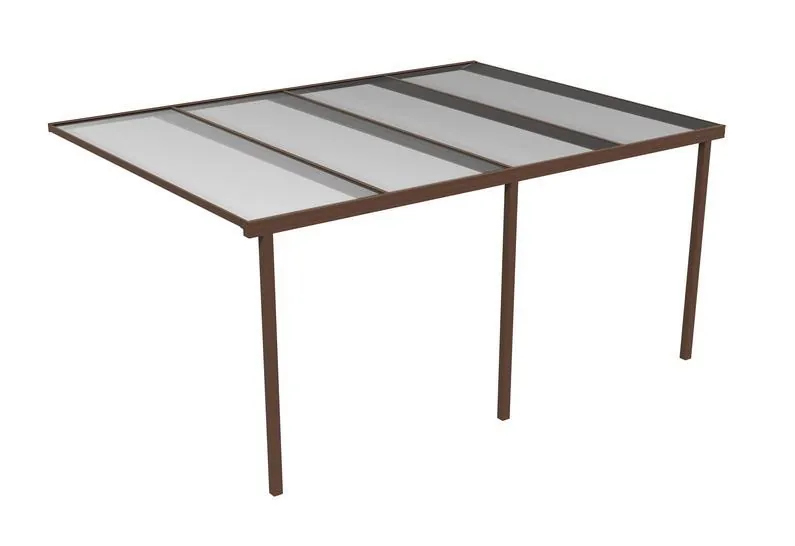





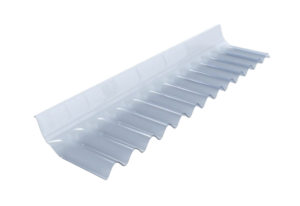

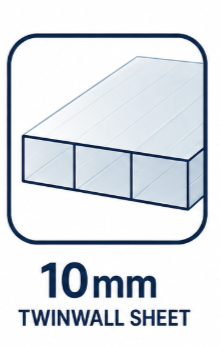
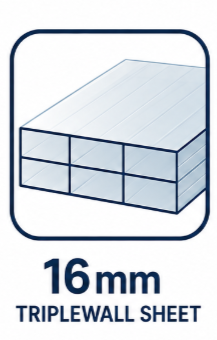
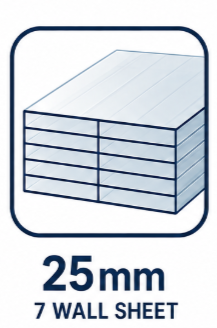
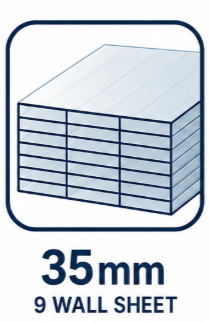



A PVC sheet closure may look like a small finishing trim, but it has an important job to do. Fitted over the correctly taped ends of multiwall polycarbonate sheets, it helps protect the open channels from the weather and keeps the roof edges tidy.
It is easy to focus on the sheets and glazing bars when planning a roof. However, leaving out the end closures can leave the sealing tapes exposed and the sheet ends poorly protected. Sheet closures are an essential part of finishing a multiwall roof properly, helping protect its appearance and supporting its service life.
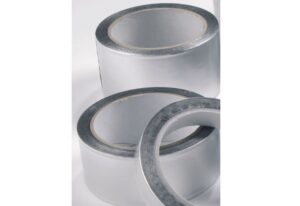
The basics: fit a closure over anti-dust breather tape at the bottom of each sheet, nearest the gutter. For freestanding structures, use closures over aluminium sealing tape at the top end too. On a lean-to, the wall-to-roof junction needs suitable flashing as well – the best glazing practice is to use lead flashing.
What closures do | Where to fit them | Installation steps | Common mistakes | FAQs
1) What is a PVC sheet closure?
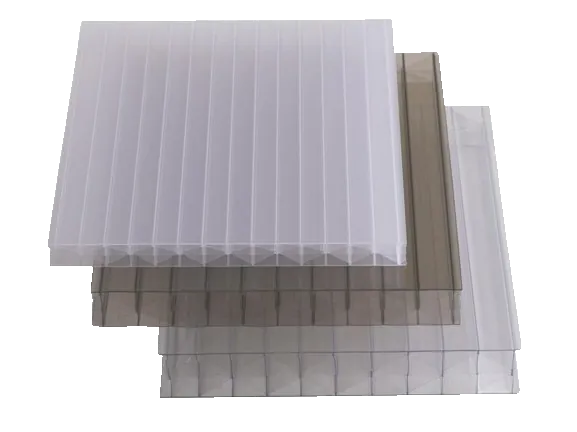
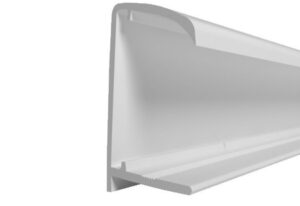
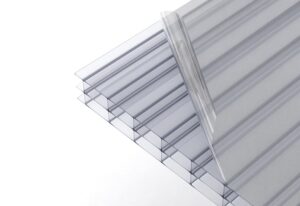
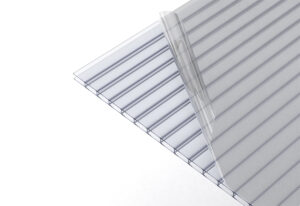
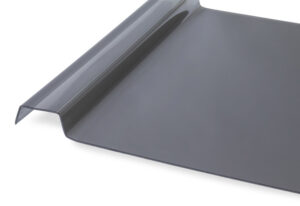
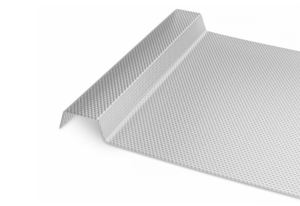
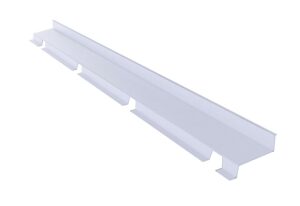
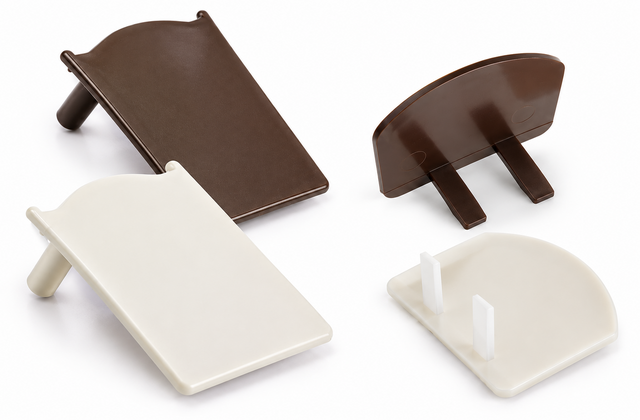
A sheet closure is a shaped PVC profile that fits across the open end of a twinwall or multiwall polycarbonate sheet. These sheets contain hollow channels, usually called flutes, which run along their length. The closure covers the taped openings at the ends of those channels.
You may also see it called a sheet end closure, end profile, U-profile, U-channel, finishing profile or polycarbonate end trim. Check that the product is intended for your sheet thickness; a general-purpose U-channel may not have the same fitting or drainage features.
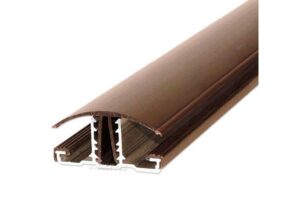
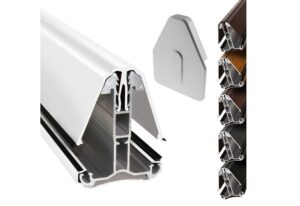
A sheet closure is also different from a glazing bar end cap. The closure finishes the sheet itself, while an end cap finishes the end of a glazing bar.
Why are sheet closures so important?
Once dirt or insects enter the flutes, they can be difficult to remove. Persistent moisture and contamination can also leave the channels looking stained or green. Properly prepared sheet ends help avoid these problems.
The tape and closure each have a purpose. The appropriate tape covers the flute openings; the closure shelters that tape and finishes the exposed edge. Our PVC closures also have a drip feature to help shed water away from the sheet end.
Closures help protect your investment, but they cannot compensate for incorrect tape, blocked drainage or a poorly fitted roof. They should be used as part of a complete installation, alongside suitable glazing bars, correct sheet orientation and the required expansion allowances.
2) Where do polycarbonate sheet closures go?
They fit across the open flute ends, along the width of the sheet. They do not run down the long side edges between neighbouring sheets.
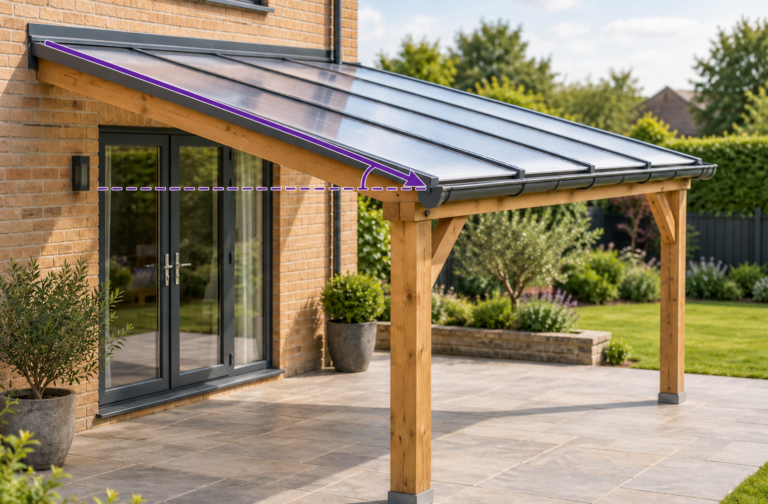
On a pitched roof, the flutes should run down the slope so moisture can drain towards the lower end. The bottom is the low edge nearest the gutter; the top is the high edge, nearest the wall on a lean-to.
| Sheet position | Tape | Closure and finishing |
|---|---|---|
| Bottom end, nearest the gutter | Anti-dust breather tape | Fit a PVC sheet closure, keeping the ventilation and drainage routes clear. |
| Top end of a freestanding roof | Aluminium sealing tape | Fit a closure to protect the exposed upper end. We strongly recommend closures at both ends on freestanding structures. |
| Top end of a lean-to roof | Aluminium sealing tape | We recommend a closure here too, provided it suits the roof system, followed by suitable wall flashing. |
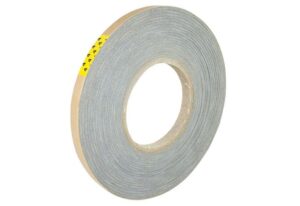
Choose the correct widths of aluminium sealing tape and anti-dust breather tape for your sheets. The two tapes are not interchangeable.
Finishing the top of a lean-to roof
The top closure protects the sheet end, but it does not seal the junction between the roof and the brick wall.
After preparing the upper sheet ends and fitting the closures, apply a polycarbonate-compatible flashing tape over the top junction, bonding it to the sound brickwork and the upper roof surface as directed by the flashing manufacturer. This bridges the wall-to-roof gap and helps prevent rain getting behind the sheets.
Remove loose dust and make sure the surfaces are clean and dry. Follow the tape instructions for primer, overlaps, application temperature and bonding pressure, and preserve the roof system’s allowance for thermal movement. Read our guide to choosing flashing tape for polycarbonate before fitting.
3) How to install PVC sheet closures
Check the instructions for your particular sheets and glazing system before starting. Prepare the ends while they are safely accessible; never stand directly on polycarbonate roofing.
Step 1: Choose the correct closure
The profile must match the sheet thickness. A closure intended for 16mm sheet, for example, should not be forced onto 25mm sheet.
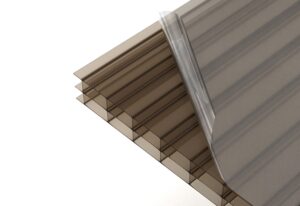
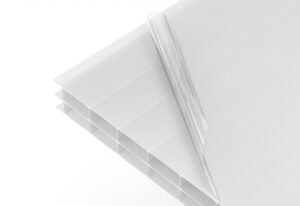
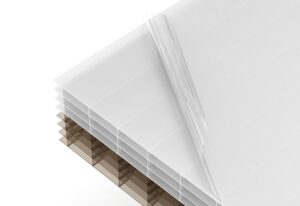
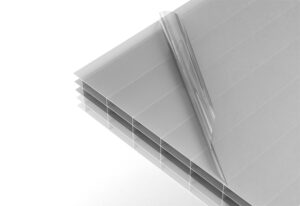
Our PVC sheet closures are available in white, brown and grey, with options for 10mm, 16mm, 25mm and 32/35mm sheets. Check the selected product for available lengths and colours.
Step 2: Prepare the sheet ends
Peel back approximately 50mm of protective film from both faces at the end you are working on. Remove cutting debris from the flutes with a vacuum or clean, dry compressed air before taping. The bonding surfaces should be clean and dry.
Keep the remaining film in place during fitting to help prevent scratches, then remove it promptly once installation is complete. Make sure the sheet’s marked UV-protected face is facing outwards.
Step 3: Check or apply the end tapes
Apply aluminium sealing tape to the upper end and anti-dust breather tape to the lower end. If your sheets arrive taped, check that the tapes are intact and correctly positioned. Cutting across the flutes creates a new open end that will need the appropriate tape.
Do not replace the bottom breather tape with solid aluminium tape or fill the open flutes with silicone.
Step 4: Measure and cut the closure
Measure across the sheet end and cut the closure to suit, checking how it meets the adjoining glazing profiles. A fine-toothed hacksaw is suitable for cutting PVC closures. Support the profile and remove any rough edges before fitting.
Step 5: Apply compatible silicone
Use a small, continuous bead of low-modulus, neutral-cure silicone specifically confirmed as compatible with polycarbonate and the closure. Position it along the upper contact edge, where the closure meets the top face of the sheet, to help keep rainwater run-off out of the profile.
Do not fill the closure with sealant. Keep the lower breather tape, internal drainage space and any drainage openings clear.
Step 6: Push the closure evenly into place
Fit the closure over the taped end and work evenly across its width. It is designed to be a tight, snug fit, but it should not crush the sheet or tear the tape. If it will not fit, check the profile size, the cut edge and any folds in the tape before applying more pressure.
The sheet will not sit flush against the back of the closure. An internal track stops it touching the rear of the profile. This is intentional. Do not force it past the track or fill the space behind the sheet with silicone.
Step 7: Check drainage and finish the roof
Check that each closure is seated evenly and that the lower edge can drain freely. Complete the wall flashing on lean-to roofs and check all junctions before removing the remaining protective film.
4) Common sheet closure installation mistakes
- Fitting closures onto bare flute ends. Apply the correct tape first.
- Using solid tape at the bottom. The lower end needs breather tape so it can ventilate.
- Applying too much silicone. Excess sealant can obstruct the drainage space.
- Forcing the sheet against the back of the profile. The internal track deliberately prevents this.
- Leaving the upper end exposed. Protect it too, especially on a freestanding roof.
- Relying on a closure to seal against brickwork. A lean-to also needs a suitable flashing detail.
5) Choosing your sheet closures
Before ordering, check your sheet thickness, the width of each open end and how many ends you need to finish. Remember to allow for both ends if you are following our recommendation, particularly on freestanding structures.
Browse our polycarbonate sheet end closures and sheet sealing tapes, or contact our team if you need help choosing the right accessories for your roof.
6) PVC sheet closure FAQs
Do I need sheet closures if the sheets are already taped?
Yes. The tape covers the flute openings, while the closure protects the tape and finishes the sheet edge. Pre-taped sheets still need the appropriate end profiles.
Should I fit closures at both ends?
Fit one at the lower open end and, as our recommendation, at the upper end too. This is particularly important for freestanding roofs, where the high end has no wall junction to shelter it. For lean-tos, check that the top closure fits within the chosen wall-flashing arrangement.
Why is my sheet closure so tight?
Our closures are designed to fit snugly over the matching sheet thickness. Check that you have the correct size and that the tape is smooth. A snug fit is expected; damaging the sheet to force it on is not.
Should there be a space inside the closure?
Yes. The internal track holds the sheet end away from the back. Do not remove the track, force the sheet further in or pack the gap with sealant.
Will closures stop all condensation?
No. Some condensation can occur inside multiwall sheets as temperatures and humidity change. Correct taping, drainage and fitting help manage moisture. Our guide to condensation in polycarbonate roof sheets explains what to look for.
Can I use any silicone or flashing tape?
No. Use products confirmed as compatible with polycarbonate and the surfaces they will contact. Check the manufacturer’s technical information rather than assuming that a general-purpose roofing product is suitable.
Do sheet closures hold the roof sheets in place?
No. They finish and protect the sheet ends. The roof still needs the specified glazing bars, supports and fixings for the chosen system.
Can I fit these closures to corrugated or solid sheets?
This guide covers hollow twinwall and multiwall sheets. Corrugated and solid polycarbonate have different edge details, so choose accessories intended for those products.
Do sheet closures need maintenance?
Include them in your roof checks, inspecting safely without walking on the sheets. Look for loose profiles, damaged tape and debris at the lower edge. Keep drainage routes clear and replace damaged components rather than sealing over the problem.




Leave a Reply