








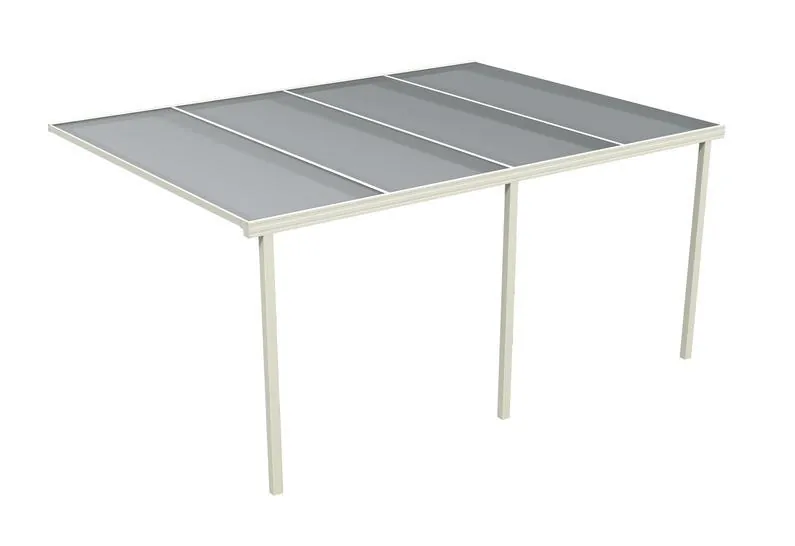
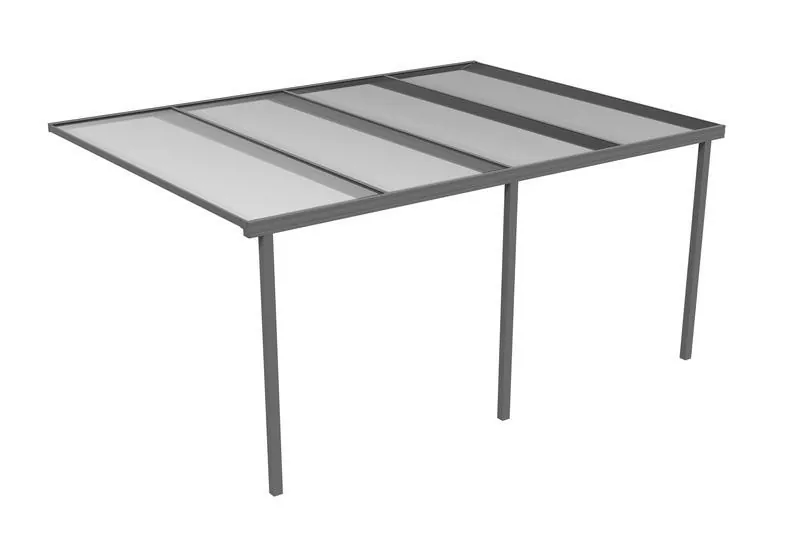
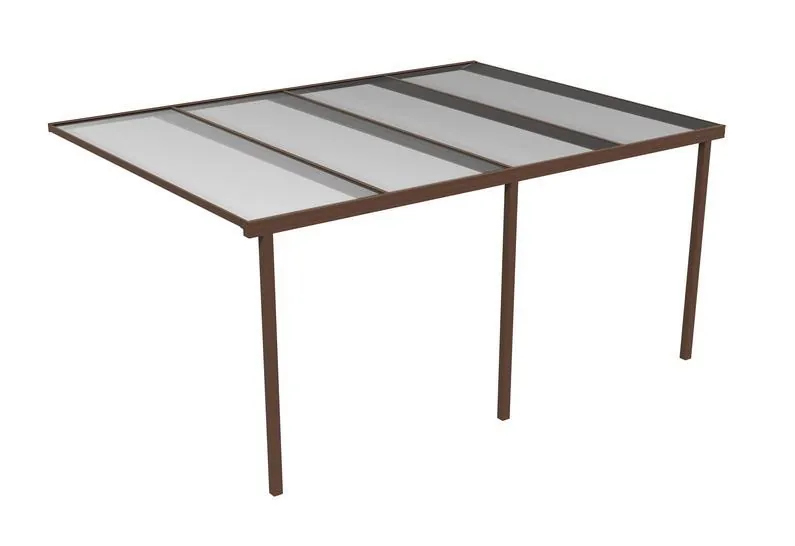

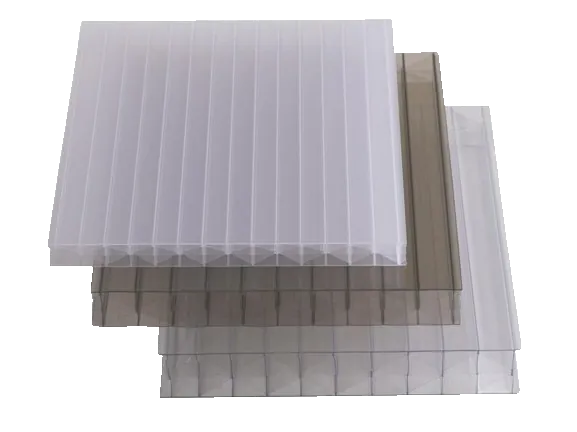
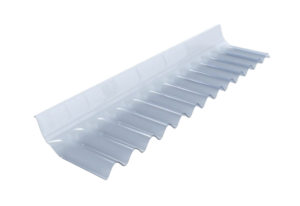
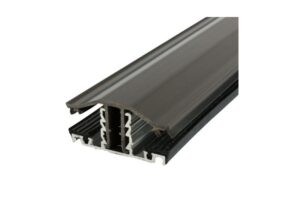
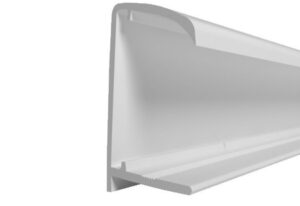
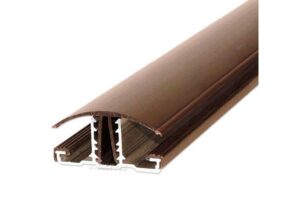
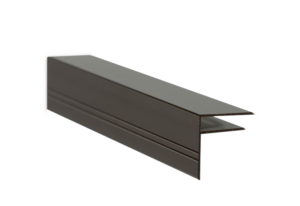
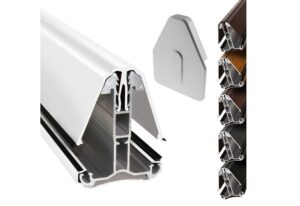
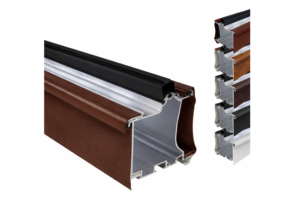
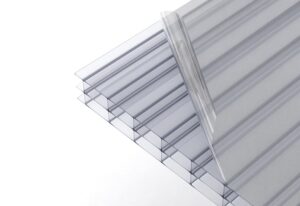
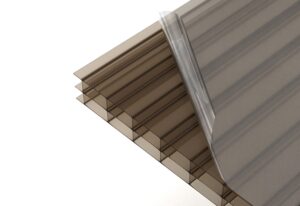
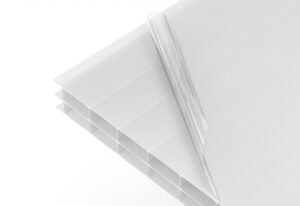
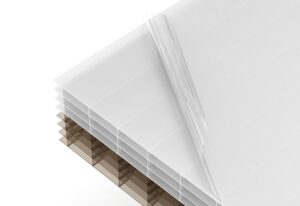
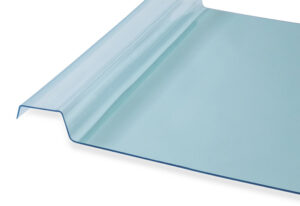
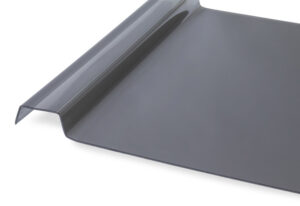
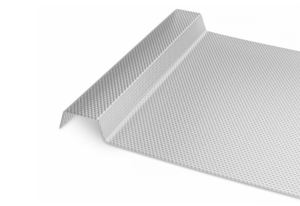
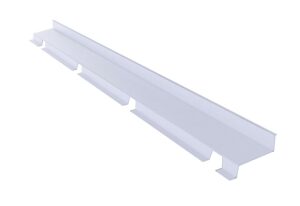



F-sections finish the exposed left and right edges of a multiwall polycarbonate roof. They run down the roof slope, helping secure and tidy the outer sheet edges.
Aluminium and PVC F-sections fit differently. Aluminium can provide a directly fixed outer edge without a separate snap-down glazing bar at that position. Our PVC F-sections work with compatible snap-down rafter-supported glazing bars.
This guide explains both methods, including fixing an aluminium F-section into the side of the end rafter.
Choose the correct F-section
Select an F-section for polycarbonate that matches your sheet thickness and roofing system.
Aluminium F-sections have a channel that receives the sheet edge and an extended fixing leg. For an exposed roof edge, the long leg points downwards against the outside of the end rafter.
PVC F-sections form part of the outer-edge detail with a compatible snap-down glazing bar. The glazing bar supports and retains the assembly; the PVC profile is not a substitute for it.
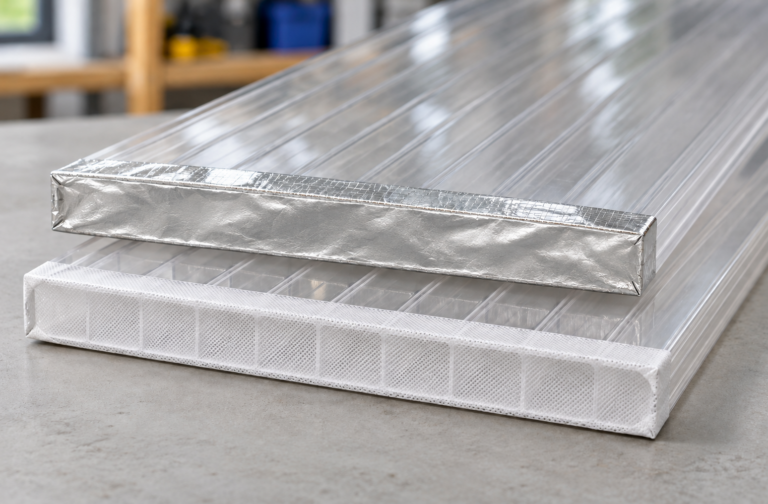
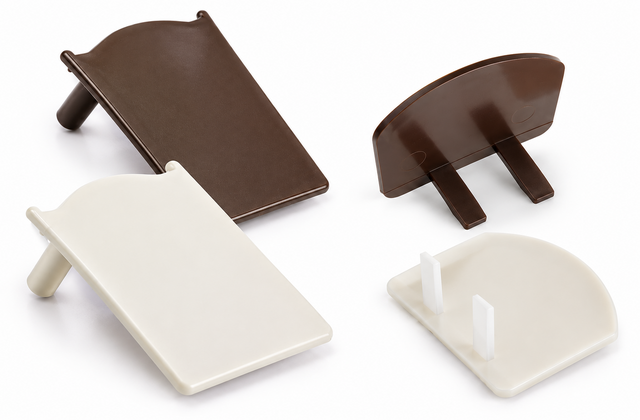
An F-section is different from a sheet closure, which fits across the taped open flutes at the upper or lower sheet end, and a glazing bar end cap, which finishes the end of a bar.
Before starting
Check sheet dimensions and expansion allowances before cutting. The outer-edge arrangement affects the required sheet width, so use our glazing bar deductions guide when planning the roof.
Have suitable cutting and drilling tools, eye protection, compatible sealant where required, and the correct fixings ready. Work from safe access equipment and never stand directly on the sheets.
Method A: Aluminium F-section fixed to the end rafter
1. Check the supporting timber
The outer rafter must be sound, correctly positioned and suitable for taking the side fixings.
Check that the F-section’s long leg will sit against the timber while its channel aligns with the sheet edge. Screwing into thin decorative trim alone does not provide the same support as fixing into the rafter.
2. Cut and prepare the profile
Measure the required length along the roof slope and cut the aluminium with a suitable fine-toothed blade.
Remove sharp burrs and clear away all swarf before bringing the profile into contact with the polycarbonate.
3. Position the F-section over the sheet edge
Fit the sheet edge between the profile’s horizontal prongs, with the long fixing leg pointing downwards outside the rafter.
Maintain the expansion allowance and sheet engagement required by the roofing system. Do not force the sheet tightly against the back of the channel.
The profile should sit naturally in position. Do not use the screws to pull a badly aligned profile towards the timber.
4. Mark and pre-drill the fixing leg
Mark fixing positions along the long vertical leg where each screw will enter sound timber.
Remove or protect the sheet while drilling the aluminium so the drill cannot strike it. Remove the swarf, then drill suitable timber pilot holes where required by the screw manufacturer.
The screws pass horizontally through the vertical aluminium leg into the side of the rafter. They do not pass through the polycarbonate sheet.
Use the fixing centres specified for the profile and roof design. Glazing-bar screw spacings should not automatically be applied to the F-section.
5. Select suitable screws
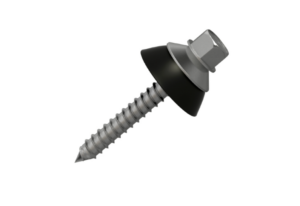
Use corrosion-resistant timber screws suitable for exterior use and compatible with aluminium and the timber treatment.
A suitable pan-head screw, or a screw with an appropriate washer, can bear against a flat fixing leg. Use countersunk screws only where the profile is prepared and specified for them.
The screw length must provide adequate engagement into sound timber without emerging through the opposite side. Diameter, length and spacing depend on the connection and expected loads; ask your fixing supplier or installer to confirm the specification.
Plasterboard screws and ordinary unprotected internal screws are unsuitable for this outdoor connection.
6. Seal and secure the profile
Apply a controlled bead of polycarbonate-compatible silicone along the upper sheet-to-profile junction where required by the fitting detail.
Secure the long leg to the rafter, tightening without bending the aluminium or pulling the sheet out of alignment. Sealant assists weathering; it does not replace the screws.
Keep the lower drainage route clear and complete the sheet closures and other roof components separately.
View the aluminium F-section fitting diagram.
Method B: PVC F-section with a snap-down glazing bar
1. Confirm compatibility
Choose the correct PVC F-section for the sheet thickness and glazing bar.
Profiles from different systems are not necessarily interchangeable, even when their stated sheet thickness is the same.
2. Install the outer glazing-bar base
Centre the compatible rafter-supported glazing bar on the end rafter and support it along its length.
Fit its gaskets and fix the aluminium base to the timber using the bar manufacturer’s specified screws and fixing pattern.
These screws secure the glazing-bar base. The PVC F-section does not use the direct side-screw method described for aluminium.
3. Position the sheet and PVC profile
Place the sheet in the glazing system, retaining the required expansion clearance.
Fit the PVC F-section into the outer-edge arrangement shown in the fitting diagram. It finishes the exposed side along the bar’s length; it is not a cap pushed into the front end of the bar.
4. Fit the snap-down cap
Align the top cap and press it into place progressively along the bar until it engages evenly.
Check that the PVC profile remains correctly seated and the seals contact the sheet properly. Do not force a mismatched profile beneath the cap or use a rubber mallet.
Fit the appropriate glazing-bar end cap and complete the remaining roof details.
View the PVC F-section fitting diagram.
Installing beside a wall
An aluminium F-section may be used with its long leg upwards against a suitable wall where the roof detail allows.
This requires suitable masonry fixings and a properly weathered wall junction. Use compatible flashing over the connection as specified; simply turning the profile upwards does not create a complete waterproof detail.
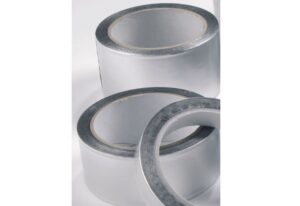
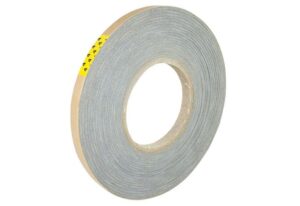
Read our flashing tape advice before choosing sealing products.
Final checks
Check that the sheet remains properly supported, expansion clearances are retained, profiles are straight and fixings have not distorted the assembly.
Complete the sheet closures, bar end caps and flashing, keeping drainage routes unobstructed.
If you are unsure which outer-edge arrangement suits your roof, contact The Polycarbonate Store before ordering or drilling.
F-section installation FAQs
Does an aluminium F-section need a glazing bar?
For the direct-to-rafter method above, it does not need a separate snap-down bar at that outer edge. Glazing bars are still required at the other positions specified by the roof design. Aluminium F-sections can also form part of certain self-supporting systems, which have separate fitting requirements.
Does a PVC F-section need a glazing bar?
Yes. The PVC profiles described here work with compatible snap-down rafter-supported glazing bars. They should not be used alone as a directly screwed aluminium replacement.
Can I fit an aluminium F-section beneath a PVC snap-down cap?
Not with the aluminium profiles described here. Their prongs are too deep for that arrangement. Use the compatible PVC F-section or the edge component specified by the glazing-bar manufacturer.
Should I screw through the sheet to secure the aluminium F-section?
No. For the side-fixed arrangement, screws pass through the long vertical leg into the side of the end rafter. Any separate sheet-fixing requirement must follow the roofing system’s instructions.
Can I glue the F-section in place?
Adhesive or silicone should not replace the required mechanical fixing. Aluminium needs its specified fixings, while the PVC profile relies on the compatible glazing bar assembly.
Can an F-section replace a sheet closure?
No. An F-section finishes a side edge. Sheet closures protect the taped open flute ends and perform a different job.
How much expansion clearance should I leave?
Follow the sheet and glazing-system requirements for your roof dimensions. Keep adequate sheet engagement while allowing movement; do not wedge the sheet tightly into the profile or fill the channel with sealant.





Leave a Reply