








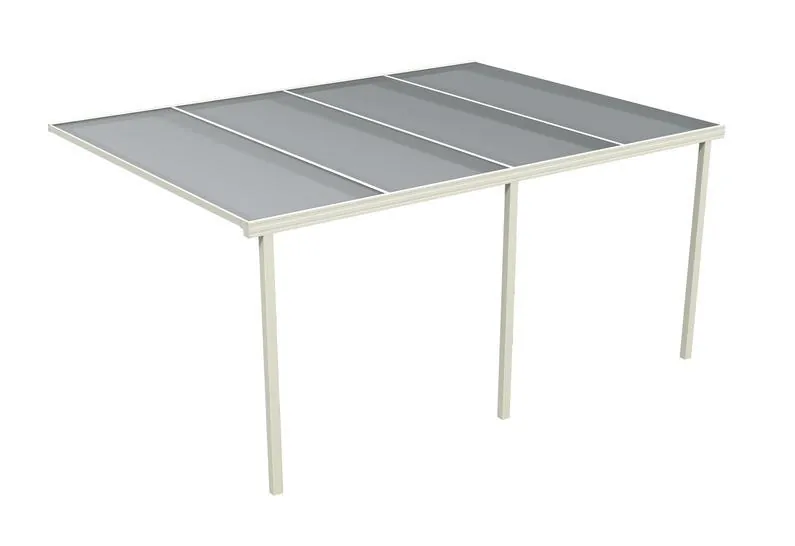
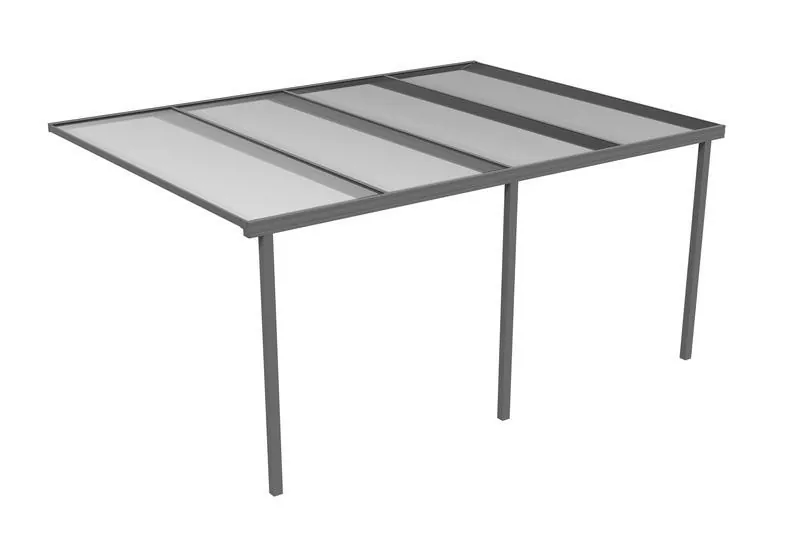
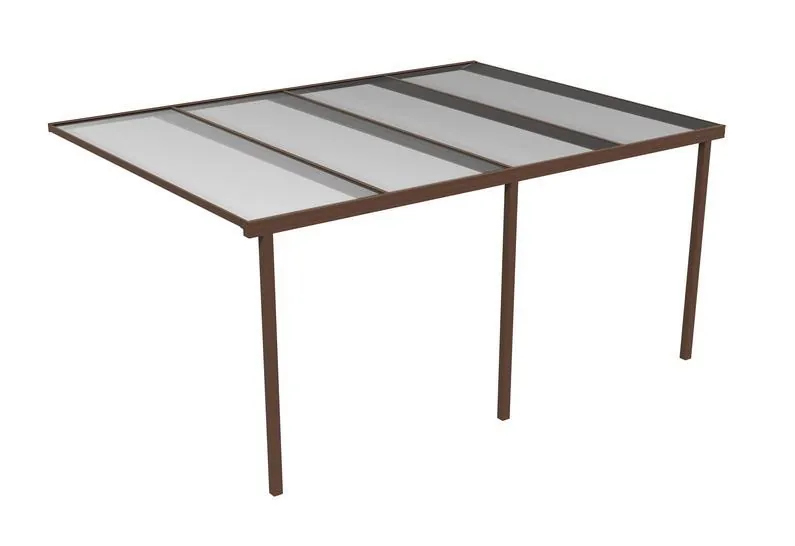

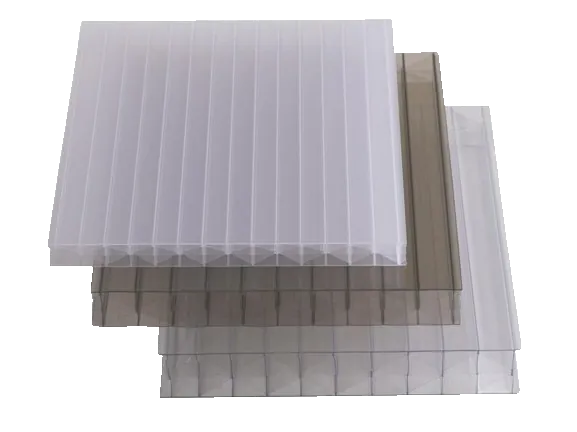

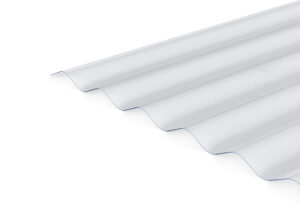
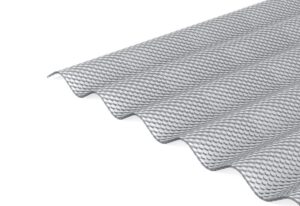
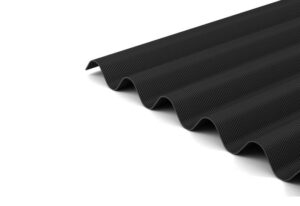
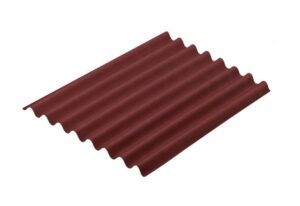
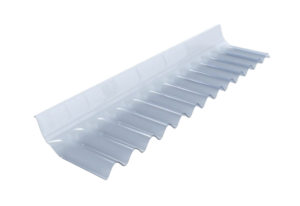
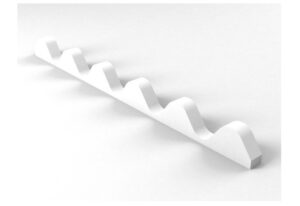
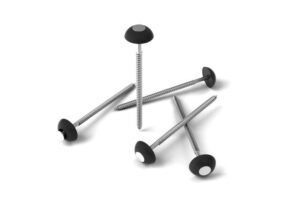
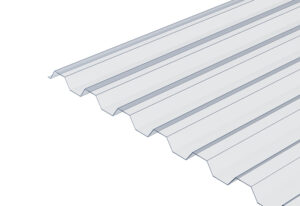
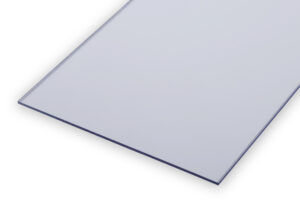
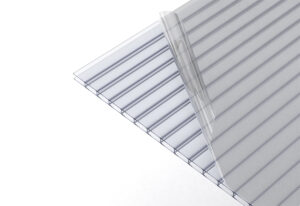
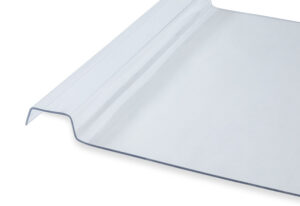
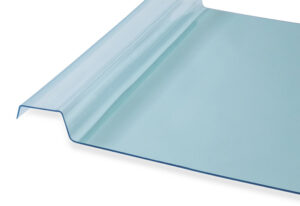
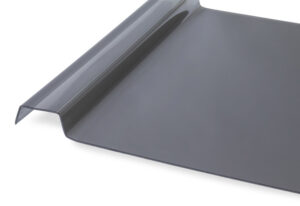
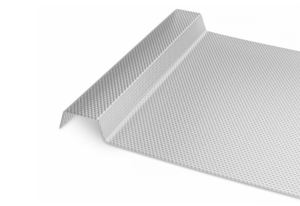



This guide explains how to install the 3mm Ez Glaze glass-like profiled polycarbonate roofing supplied by The Polycarbonate Store using a timber rafter structure.
Read it alongside the UK installation guide and technical brochure. The drawings show the panel overlaps, fixing positions and finishing arrangements.
These instructions cover the standard 60 profile installed over rafters. Other profiles or support arrangements may have different requirements.
Before you start
Have the following ready:
- Roofing panels in the required sizes.
- A suitable, completed timber framework.
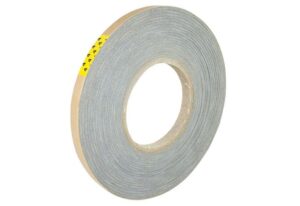
- Compatible friction-reduction foam tape.
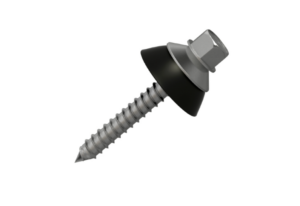
- 6.5mm × 50mm timber roofing screws with 25mm EPDM washers.
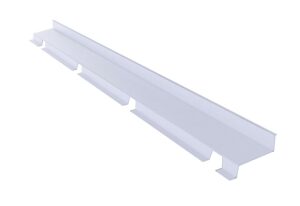
- Head wall flashing where the roof meets a wall at its upper end.
- Any additional compatible weathering materials required for your installation.
- Measuring tape, drill, 10mm drill bit and screwdriver.
- Suitable cutting equipment if trimming is required.
- Appropriate protective equipment and safe access equipment.
The Polycarbonate Store supplies the matching head wall flashing. We do not supply butyl tape or side wall flashing in the UK. Where these are required by the installation detail, they must be sourced separately.
Never stand or walk directly on the roofing panels. Arrange safe access supported by the structure, and work in dry, calm conditions.
1. Measure and plan the roof
Measure the overall roof width and the sloping length from the upper end towards the gutter.
The sloping sheet length is longer than the horizontal projection. Include the required lower overhang when selecting your sheet lengths.
Our Ez Glaze polycarbonate roofing provides 600mm effective cover width per panel after the side overlap.
Plan the first and last panels, including any wall junctions or trimmed edges, before cutting or fixing. Check the finishing drawings in the UK installation guide.
Panels are supplied in standard sizes. The Polycarbonate Store does not offer a cutting service for this product.
2. Check the supporting framework
For the 60 profile, use 50–60mm-wide rafters positioned at 600mm centres. Measure from the centre of one rafter to the centre of the next—not between their inner edges.
Check that:
- Rafters are straight and aligned.
- Rafters sit square to the supporting beams or wall.
- The framework provides suitable support beneath the raised panel joints.
- Timber depth, spans, connections and anchoring suit the structure and expected loads.
This rafter installation does not require intermediate purlins beneath the panels. Do not change the support arrangement without checking the relevant technical requirements.
Use light-coloured timber support surfaces, preferably white. Allow compatible paints and timber treatments to dry fully before fitting.
3. Set the roof slope
The UK installation guide specifies a minimum slope of 5°. However, The Polycarbonate Store recommends a minimum pitch of 10° where the structure allows, to encourage effective rainwater drainage.
For every 1000mm of horizontal projection, allow approximately:
- 5° pitch: 87mm of rise.
- 10° pitch: 176mm of rise.
Check the framework’s slope before fitting the panels, and position the lower edge to discharge into the gutter.
4. Prepare the panels and working area
Keep panels flat, evenly supported, dry and shaded until needed. Follow our storage advice if installation is delayed.
Check the panels for damage and confirm their profile orientation before cutting or drilling.
If trimming is required, support the panel securely and use cutting equipment suitable for polycarbonate. Protect the surfaces and remove cutting debris carefully.
Follow the supplied instructions for protective-film removal. Do not leave temporary film exposed to prolonged sunlight.
5. Apply foam tape to the rafters
Make sure the upper timber surfaces are clean and dry. Apply compatible friction-reduction foam tape along the top of each rafter where the panel will make contact.
The tape cushions the contact between the timber and polycarbonate, helping reduce friction and noise during thermal movement.
Foam tape does not replace mechanical fixings or flashing.
6. Position the first panel
Place the first panel over the rafters in the correct orientation.
Align its lower edge and allow the 50–150mm overhang shown in the installation guide, positioning the edge so runoff enters the gutter.
Check that the raised outer corrugation is correctly supported and that the panel sits naturally on the framework. Do not pull or twist it into position.
Confirm the layout before drilling.
7. Drill and secure the first outer edge
Pre-drill 10mm clearance holes through the raised outer corrugation at 500mm intervals.
The installation drawing positions the first and last fixings 50mm from the corresponding rafter ends. This measurement is separate from the sheet overhang.
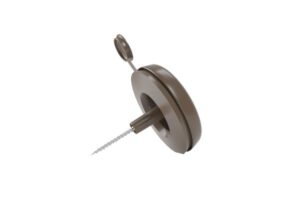
Use 6.5mm × 50mm timber screws with 25mm EPDM washers, working from the lower end towards the upper end.
Our timber roofing screws with EPDM washers match this specification.
Seat each washer evenly. Tighten sufficiently to secure and seal the fixing without crushing the washer or distorting the panel.
8. Overlap the second panel
Position the second panel alongside the first.
The larger raised edge must cover the smaller raised edge of the adjoining panel.
Check that the profiles nest together naturally above the supporting rafter. An incorrectly positioned overlap should be realigned rather than forced down with screws.
Keep the lower edges aligned.
9. Drill and secure the overlap
With both panels correctly positioned, drill 10mm clearance holes through both layers together, following the 500mm fixing spacing.
Secure the overlap using the specified screws and EPDM washers, working from the lower end upwards.
Polycarbonate expands and contracts as its temperature changes. The clearance holes and correctly tightened fixings allow this movement; ordinary tight-fitting screw holes are unsuitable.
10. Continue across the roof
Repeat the overlap, drilling and fixing process for each remaining panel.
Check alignment regularly so that small positioning errors do not build up across the roof.
For wider roofs or installations between walls, follow the laying-direction diagrams in the UK guide rather than assuming every roof should be installed from the same side.
11. Finish the outer edges
Complete exposed side edges or trimmed panels using the arrangement shown for your roof layout.
The UK guide illustrates different details for full panels, trimmed panels and panels adjoining walls. Check the required support, profiles and seals before cutting away a raised edge.
Do not substitute multiwall sheet closures or standard glazing bars for the specified finishing arrangement.
Side wall flashing is not supplied by The Polycarbonate Store in the UK. Where required, arrange a suitable compatible solution separately.
12. Fit the head wall flashing
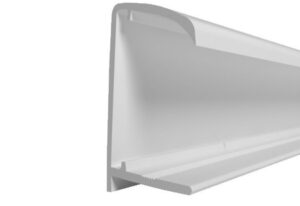
Where the roof meets a wall at its upper end, install the matching head wall flashing.
Follow the guide’s illustrated weathering detail, using suitable wall fixings and compatible sealing materials. Prepare surfaces according to the tape or sealant instructions.
The guide shows butyl tape as part of its finishing arrangement. This is not supplied by The Polycarbonate Store and must be sourced separately where required.
Do not assume that fitting the flashing profile alone completes every roof-to-wall seal.
13. Complete the final checks
Before finishing, check that:
- Panel overlaps are correctly seated.
- Fixings and washers sit evenly.
- Panels have not been distorted by overtightening.
- Wall junctions and exposed edges are properly finished.
- The lower overhang discharges into the gutter.
- Protective film has been removed as instructed.
- Cutting debris has been cleared and drainage routes remain unobstructed.
We recommend guttering to collect runoff and reduce splashing beneath the roof.
For help choosing panels and accessories before installation, contact The Polycarbonate Store with your measurements and proposed roof layout.
Installation FAQs
What does “glass-like” mean?
It describes the appearance of the clear panels and their broad viewing areas. The material is polycarbonate, with different characteristics from glass, including lower weight, high impact resistance and greater thermal movement. Careful handling is still necessary to prevent scratches.
Do I need glazing bars?
Not for the standard rafter installation described here. The raised panel edges overlap above the rafters and are secured using the specified screws and EPDM washers.
Is 600mm the gap between the rafters?
No. It is the distance from the centre of one rafter to the centre of the next. The clear gap between them will be smaller.
Why are the fixing holes larger than the screws?
The clearance accommodates movement as the polycarbonate warms and cools. A tight hole or overtightened fixing can restrict movement and place stress around the fixing point.
Can I use these instructions for multiwall polycarbonate?
No. Multiwall roofing uses different glazing components, edge treatments and fixing details. Follow the installation instructions for the particular product being fitted.
Can I cut the panels myself?
Yes, using suitable equipment and the correct method for polycarbonate. Support the panel securely and plan how any trimmed edge will be supported and finished before cutting.
Do the panels need breather tape and sheet closures?
These panels do not contain the hollow flutes found in multiwall polycarbonate, so they do not use the same breather-tape and flute-closure arrangement. They still require suitable perimeter finishing and wall weathering details.
Which flashing accessories can I buy from The Polycarbonate Store?
We supply the matching head wall flashing for the upper roof-to-wall junction. We do not supply butyl tape or side wall flashing in the UK. Source these separately where required, checking compatibility with polycarbonate.
Can I walk on the panels during installation?
No. Never stand or walk directly on the panels. Use suitable access equipment supported by the structure; impact resistance does not make roofing sheets a safe working platform.




Leave a Reply