








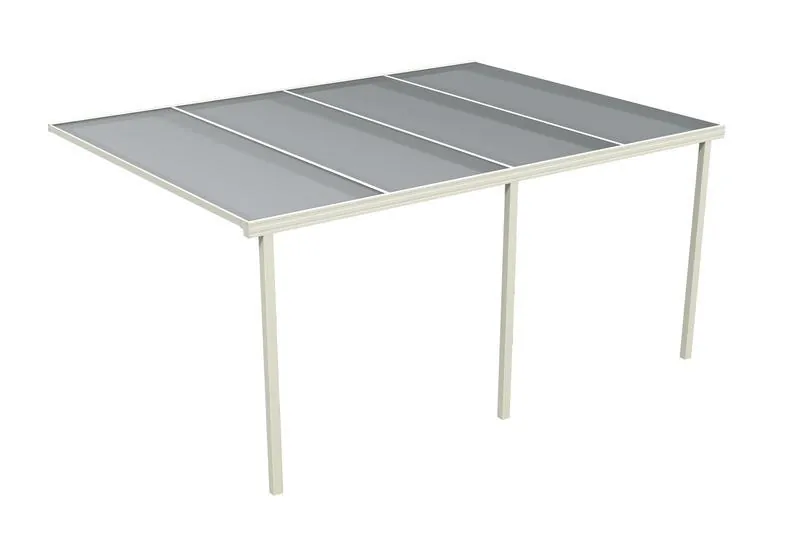
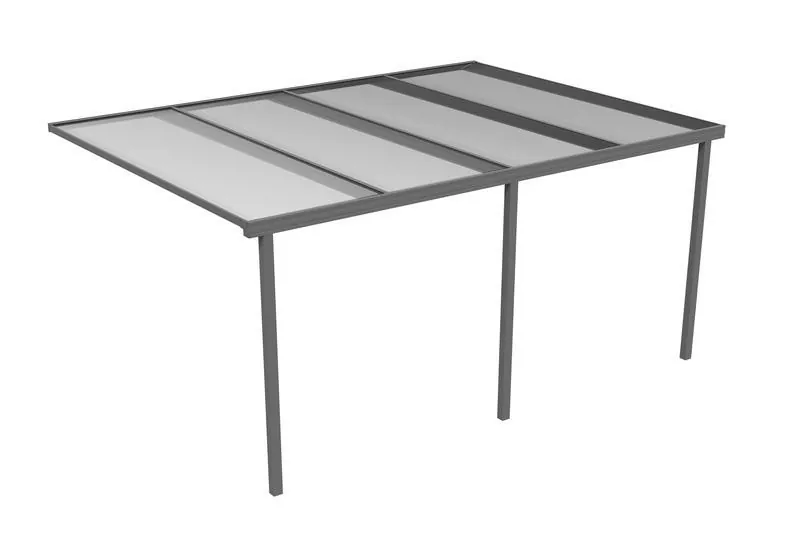
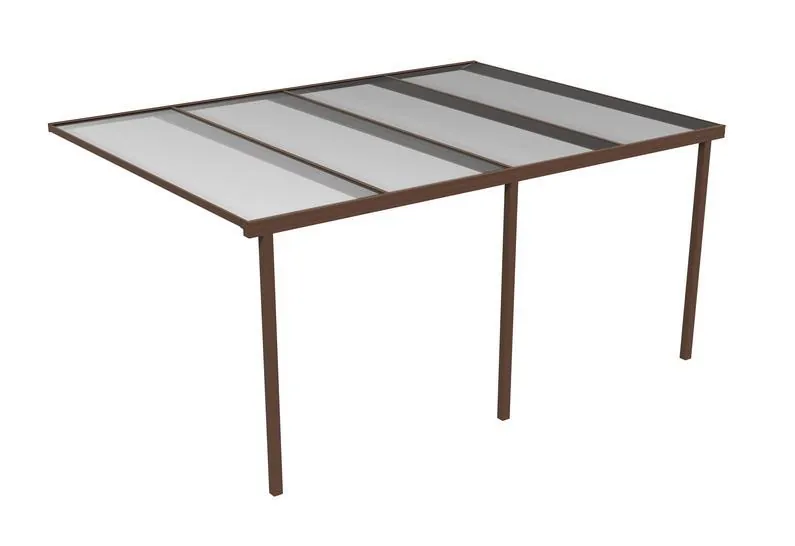

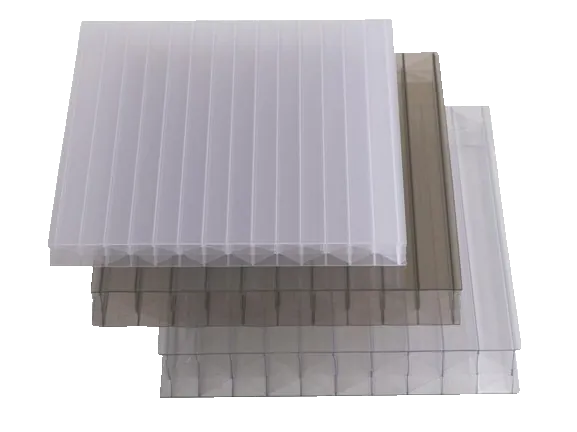


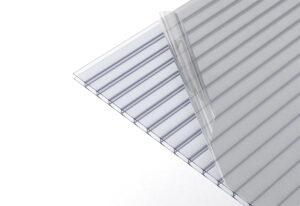

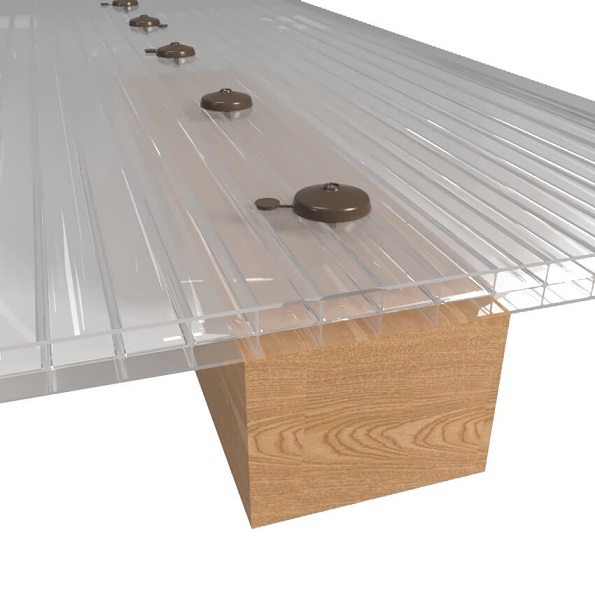
Polycarbonate fixing buttons provide a simple way to secure multiwall polycarbonate sheets directly to timber rafters, purlins or other suitable supports. They can provide additional fixing strength and are particularly useful where extra restraint is required, such as at eaves or where the sheet layout requires additional intermediate support.
However, fixing buttons need to be installed correctly. Polycarbonate naturally expands and contracts as temperatures change, so the fixing method must allow for this movement rather than restricting the sheet.
In this guide, we explain what polycarbonate fixing buttons are, how they work, how to choose the correct size and how to install them correctly.
What Are Polycarbonate Fixing Buttons?
A polycarbonate fixing button is a purpose-designed fixing accessory used to secure a polycarbonate sheet to a supporting structure, typically timber.
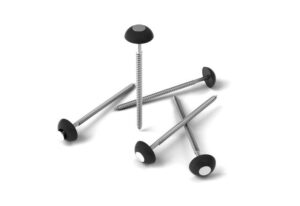
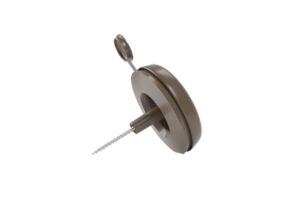
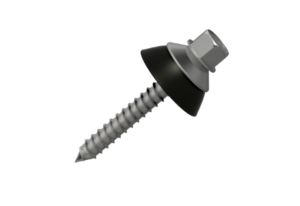
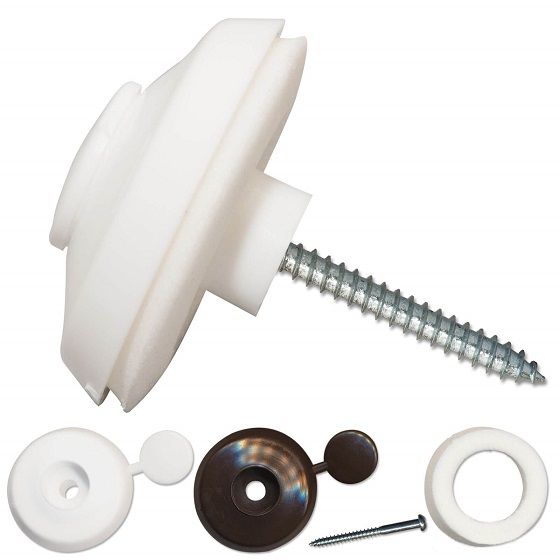
A fixing button set consists of:
- A fixing button with a shaft that passes through the polycarbonate sheet
- A screw for fixing into the supporting timber
- A foam compression gasket to help seal around the fixing point
- A screw-hole cover for a neat finished appearance
The fixing button spreads the fixing load over a larger area than the screw alone and helps provide additional restraint to the sheet.
The foam compression gasket also helps reduce the risk of water entering through the drilled fixing hole when the button is correctly installed.
Our fixing button packs contain 10 fixing buttons, 10 screw hole covers, 10 foam compression gaskets and 10 screws.
Why Use Fixing Buttons on Polycarbonate?
Fixing buttons can be used where additional fixing strength is required or where a sheet needs to be secured to an intermediate support.
They can be particularly useful for:
- Providing additional restraint against wind uplift
- Providing additional fixing at the eaves of a roof
- Securing wider sheets to intermediate rafters or purlins
- Providing additional support where the sheet layout differs from the manufacturer’s recommended support spacing
- Fixing multiwall polycarbonate directly to suitable timber supports
Polycarbonate is lightweight but is also affected by temperature. The material expands in warmer conditions and contracts as temperatures fall. Correct installation therefore needs to secure the sheet while still allowing for this natural movement. Both Palram and Brett Martin highlight the importance of allowing thermal movement when fixing polycarbonate sheets.
Choosing the Correct Fixing Button Size
One of the most important things to get right is choosing a fixing button that matches the thickness of your polycarbonate sheet.
The fixing button shaft length corresponds to the thickness of the polycarbonate sheet – not the screw length.
For example:
| Polycarbonate sheet thickness | Suitable fixing button |
|---|---|
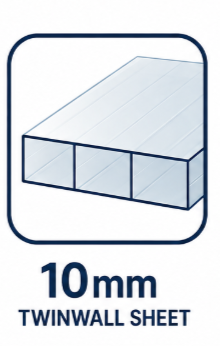
| 10mm sheet | 10mm fixing button |
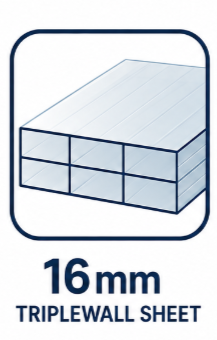
| 16mm sheet | 16mm fixing button |
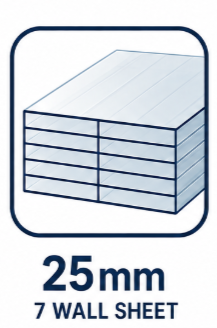
| 25mm sheet | 25mm fixing button |
Please note: the screw supplied with the buttons is 50mm long. The 50mm screw length does not indicate the thickness of sheet the button is designed for.
Always check the product description before ordering to make sure you have selected the correct button for your sheet thickness.
Why Does the Button Size Need to Match the Sheet?
The shaft of the fixing button passes through the pre-drilled hole in the polycarbonate sheet.
Using the appropriate shaft length helps the button sit correctly against the sheet without unnecessarily compressing or restricting the material when the screw is tightened.
The aim is to secure the sheet firmly without clamping it so tightly that its natural thermal movement is restricted.
This is particularly important with larger sheets, which can experience noticeable movement as temperatures change. Manufacturer guidance for multiwall polycarbonate also stresses that fixings should not be overtightened.
Fixing Buttons and Thermal Movement
Polycarbonate is a thermoplastic material, which means it naturally expands when heated and contracts when it cools.
This movement needs to be considered when drilling and fixing your sheets.
If a sheet is fixed too tightly, or the fixing hole is too small, the sheet can be prevented from moving naturally. Over time, this can contribute to stress around the fixing point, distortion or other installation problems.
For this reason, never simply drill a tight hole around the fixing and clamp the sheet firmly in place.
The fixing hole needs to provide sufficient clearance around the button shaft to accommodate the movement of the sheet.
Our installation advice recommends drilling the hole 2mm wider than the button shank to allow for thermal movement. Manufacturer recommendations can vary depending on the specific polycarbonate product, sheet size and fixing system, so always follow the installation guidance for your particular sheet where it differs.
How to Install Polycarbonate Fixing Buttons
1. Position the Polycarbonate Sheet
Position the sheet on the completed roof structure and make sure it is correctly aligned before marking your fixing points.
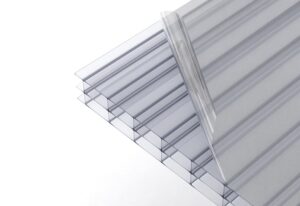
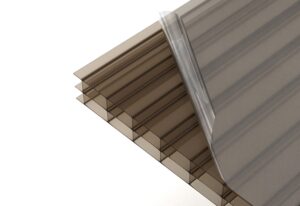
Polycarbonate multiwall sheets should generally be installed with the flutes/ribs running up and down the slope of the roof, allowing condensation to drain towards the bottom of the sheet.
The sheet should be adequately supported underneath before drilling.
2. Mark the Fixing Positions
Mark the fixing positions over the timber rafter, purlin or other suitable supporting structure.
As a general guide, our fixing button installation advice recommends positioning buttons at approximately 300mm intervals and no closer than 50mm from a cut edge.
The required fixing pattern can vary depending on the sheet type, roof design, support spacing, wind exposure and manufacturer recommendations, so the fixing pattern should always be considered alongside the installation instructions for the specific polycarbonate sheet.
3. Drill the Polycarbonate
Use a sharp steel or suitable twist drill bit rather than a wood drill bit.
Drill through the sheet where marked, preferably between the ribs/flutes where possible.
The hole should be slightly oversized compared with the fixing button shaft to allow the sheet to move with temperature changes.
Our guidance recommends a hole approximately 2mm larger than the button shank.
Manufacturer recommendations can specify different clearances for different polycarbonate products, so always check the relevant sheet installation guide. For example, Brett Martin’s Marlon ST guidance specifies an 18mm fixing hole for its particular multiwall sheet system.
Do not punch or force holes through the sheet. Always pre-drill them.
4. Clean the Drilled Hole
Remove any swarf, dust or plastic debris from around the hole and from inside the sheet flutes.
This is particularly important with multiwall polycarbonate because debris left inside the flutes can affect the appearance of the finished roof and may interfere with the correct installation of the sheet.
5. Fit the Foam Gasket
Place the supplied foam compression gasket underneath the fixing button.
The gasket helps create a seal around the fixing point and helps reduce the risk of water entering through the drilled hole.
6. Insert the Fixing Button
Pass the shaft of the fixing button through the prepared hole in the polycarbonate sheet.
The button should sit flat against the sheet with the foam gasket underneath it.
7. Secure With the Screw
Insert the supplied 50mm screw through the centre of the fixing button and into the supporting timber.
Tighten the screw sufficiently to secure the sheet and compress the gasket, but do not overtighten it.
The polycarbonate should be held securely without being crushed or excessively compressed.
Over-tightening can restrict the natural movement of the sheet and place unnecessary stress around the fixing point. Manufacturer guidance similarly advises that polycarbonate fixings should not be overtightened.
8. Fit the Screw-Hole Cover
Once the fixing is correctly tightened, push the screw-hole cover into place.
This provides a neater finish and helps protect the screw head from the weather.
If additional sealing is required, only use a silicone sealant that is confirmed as compatible with polycarbonate. Some general-purpose silicone products can adversely affect polycarbonate. Brett Martin, for example, recommends low-modulus neutral silicone for applications where silicone is required.
Where Should Fixing Buttons Be Used?
Fixing buttons are particularly useful for additional fixing rather than as a replacement for a properly designed glazing system.
For example, a button can be used at an eaves support to provide additional restraint against wind uplift and downslope movement.
They can also be used to secure a wider multiwall sheet to an intermediate rafter, purlin or noggin where additional support is required.
Our own technical guidance notes that buttons can provide additional fixing strength where wind or snow loading is a consideration and can be used to provide additional support where sheet centres are wider than the recommended spacing.
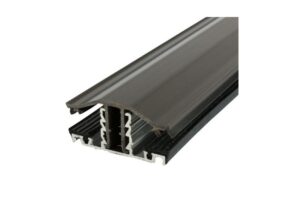
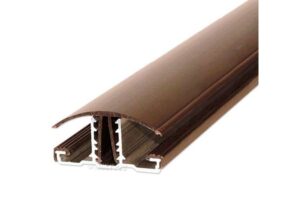
Fixing Buttons vs Glazing Bars
Fixing buttons are convenient and relatively simple to install, but they are not our preferred long-term method for securing the main edges of polycarbonate roofing sheets.
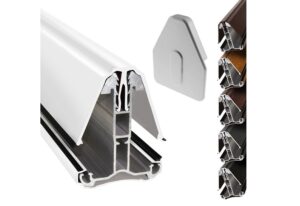
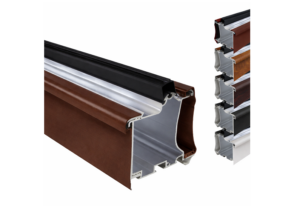
For a permanent polycarbonate roof, a suitable glazing bar system provides a more comprehensive method of securing and sealing the sheets.
Glazing bars can provide continuous support along the sheet edges and reduce the number of holes that need to be drilled through the polycarbonate.
This is particularly important on larger roofing projects or where long-term weather resistance is a priority.
Fixing buttons should not be used as a substitute for a glazing bar along the cut edge of a sheet. Doing so can leave the edge inadequately supported and can increase the risk of water ingress.
For advice on the most suitable fixing method for your project, contact our team before installation.
Common Fixing Button Installation Mistakes
Using the wrong button size
The button shaft needs to correspond with the thickness of the polycarbonate sheet.
Remember: the button size refers to the shaft length, not the 50mm screw supplied.
Drilling a hole that is too small
Polycarbonate needs room to move as temperatures change. A hole that is too tight around the fixing can restrict this movement.
Over-tightening the screw
The screw should secure the sheet without crushing the polycarbonate or excessively compressing the gasket.
Fixing too close to the sheet edge
Keep fixings away from cut edges. Our fixing-button guidance recommends no closer than 50mm from a cut edge (top and bottom of the sheet).
Leaving swarf inside the sheet
Always clean the drilled hole and remove debris from the flutes before completing the fixing.
Using fixing buttons instead of edge support
Buttons should not be relied upon to replace a proper glazing bar system along the cut edge of a roof sheet.
Using unsuitable silicone
Not all silicone products are suitable for polycarbonate. Always check compatibility before applying sealant.
Fixing Button Installation Checklist
Before completing your installation, check that:
☐ You have selected the correct button for your sheet thickness.
☐ The button shaft corresponds to the sheet thickness, not the screw length.
☐ The supplied screws are 50mm long and suitable for the supporting structure.
☐ Fixing holes have been pre-drilled correctly.
☐ Adequate clearance has been allowed for thermal movement.
☐ The holes have been drilled between the ribs where possible.
☐ All swarf and debris have been removed.
☐ Foam compression gaskets are fitted underneath the buttons.
☐ Screws have been tightened without overtightening.
☐ Screw-hole covers have been fitted.
☐ Fixings are positioned an appropriate distance from sheet edges.
☐ Fixing buttons have not been used as a substitute for edge glazing bars.
Need Help Choosing the Right Fixings?
Choosing the correct fixing system is an important part of installing a polycarbonate roof.
If you are unsure which fixing buttons, glazing bars, screws or other accessories you need, contact us before placing your order.
Shop Polycarbonate Fixing Buttons
Browse our range of polycarbonate fixing buttons in different sizes and colours to find the correct option for your sheet.