


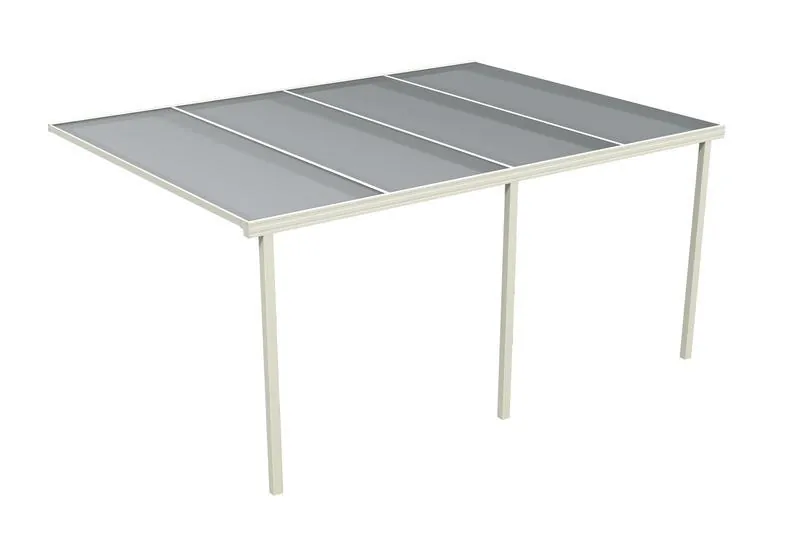

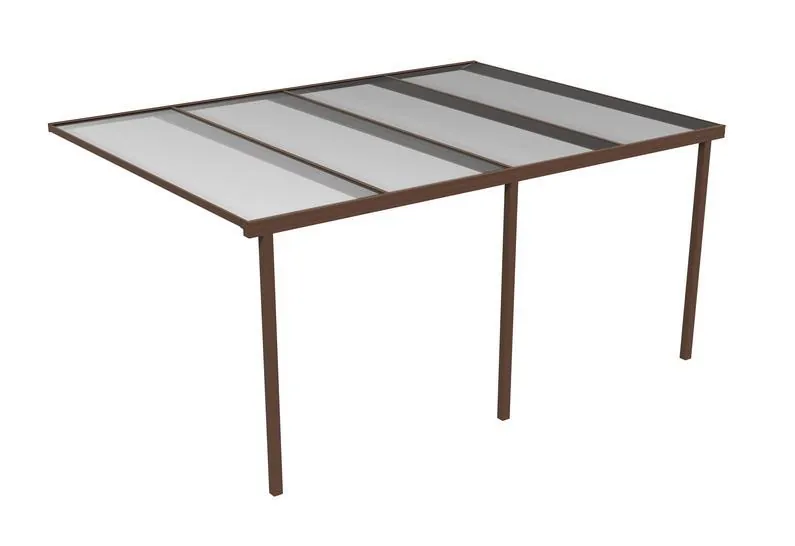


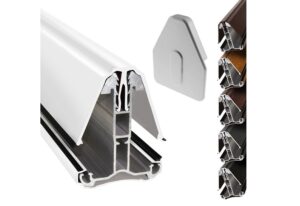


EZ Glaze Polycarbonate Roofing System
EZ Glaze is a modular glazing roofing system by Palram, designed for DIY-friendly installation while offering excellent load performance and weather resistance.
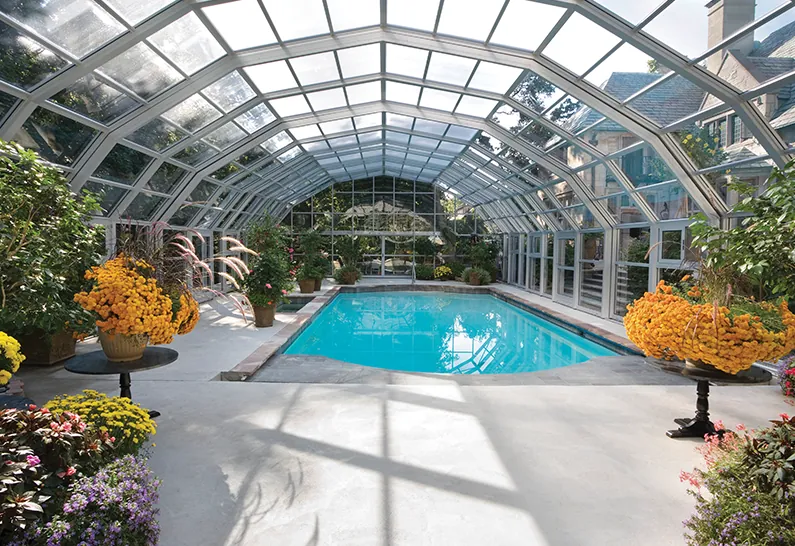
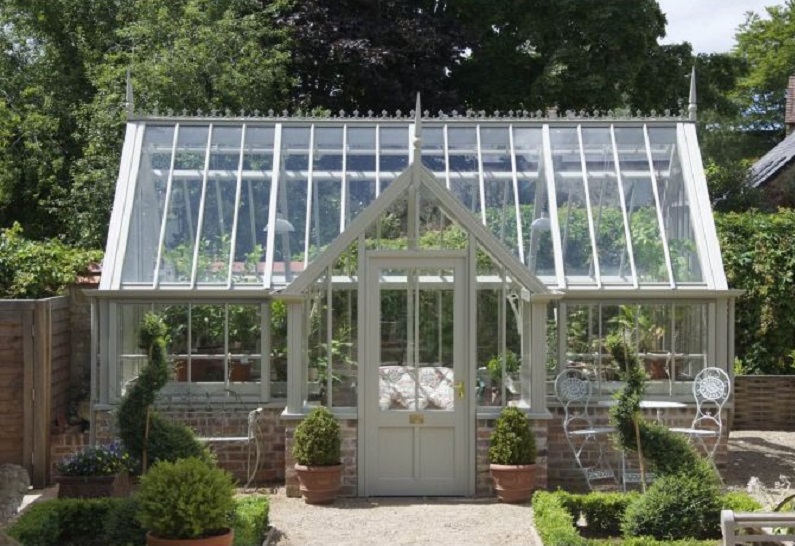
Typical applications
- Patio and lean-to roofs
- Garden room glazing
- Carports and covered areas
Key benefits
- Simple installation without specialist tools
- High load-bearing capacity
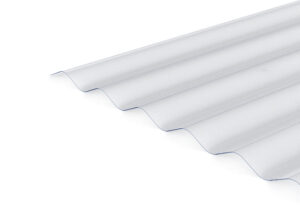
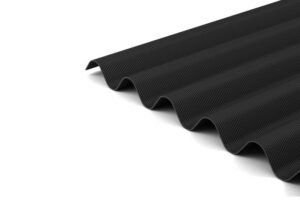
- UV-protected polycarbonate panels
- Clean, modern appearance
Browse EZ Glaze products
Showing all 7 results
-
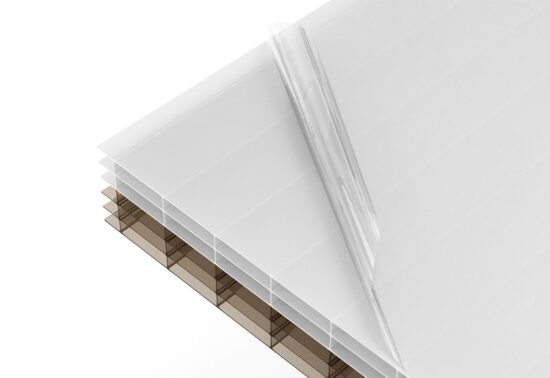
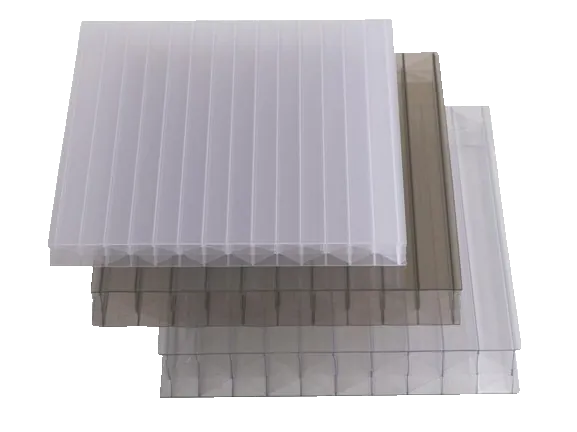
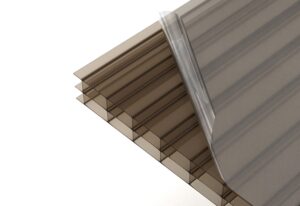
25mm Bronze/Opal Two Tone Multiwall Polycarbonate Sheet
£46.56 Inc VATSelect options -
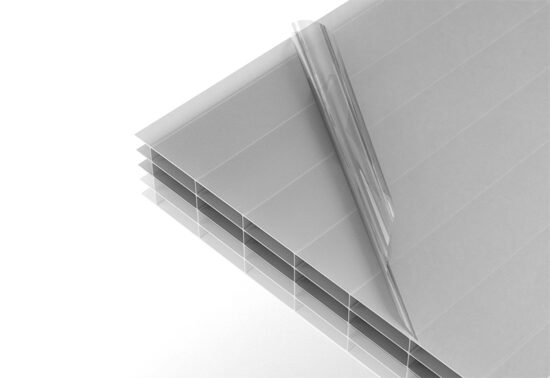
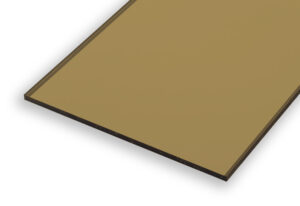
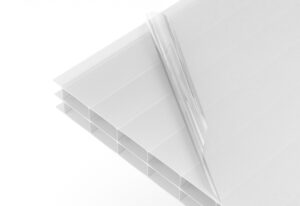
25mm Opal Heat Guard Multiwall Polycarbonate Sheet
£47.69 Inc VATSelect options -
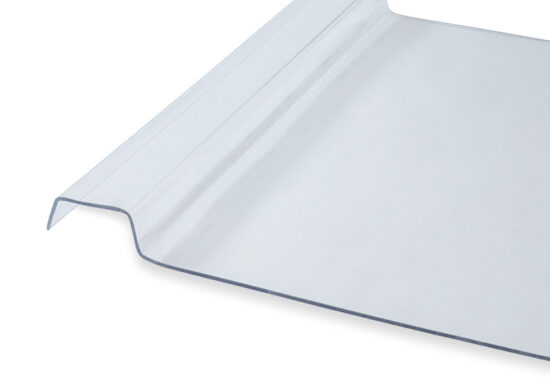
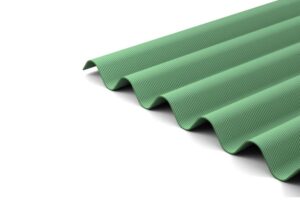
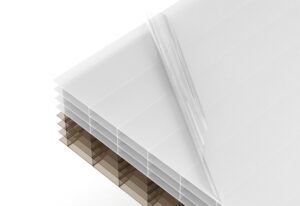
SUNTUF EZ Glaze® 60 3mm CLEAR
Price range: £82.61 through £198.25 Inc VATSelect options This product has multiple variants. The options may be chosen on the product page -
SUNTUF EZ Glaze®BH 2.8mm CLEAR
Price range: £82.61 through £198.25 Inc VATSelect options This product has multiple variants. The options may be chosen on the product page -
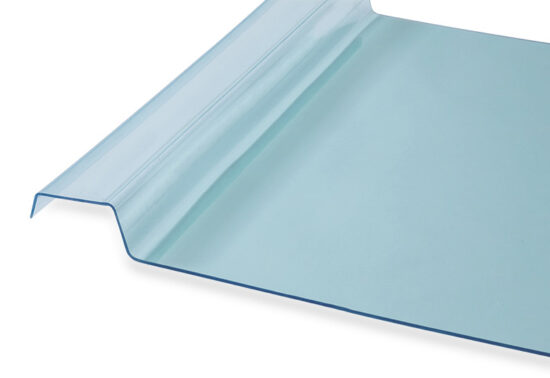
SUNTUF EZ Glaze® 60 3mm Blue Breeze 70% Light Transmission
Price range: £99.14 through £198.25 Inc VATSelect options This product has multiple variants. The options may be chosen on the product page -
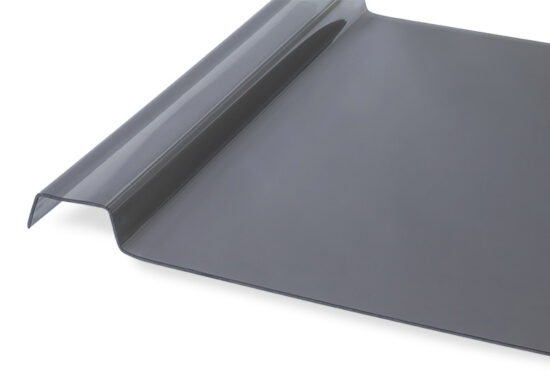
SUNTUF EZ Glaze® 60 3mm Grey 20% Light Transmission
Price range: £99.14 through £198.25 Inc VATSelect options This product has multiple variants. The options may be chosen on the product page -
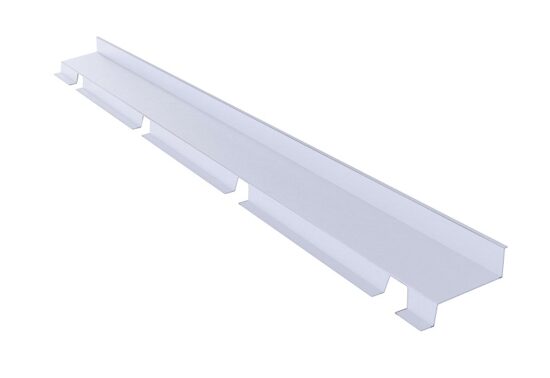
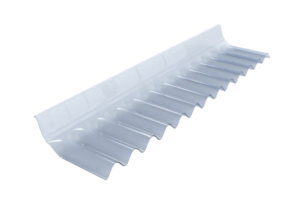
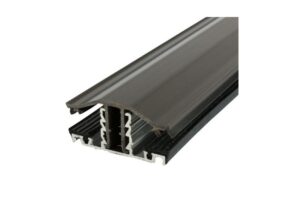
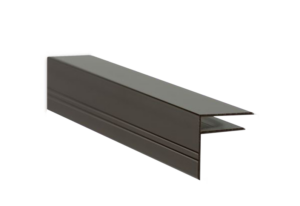
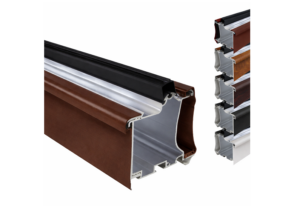
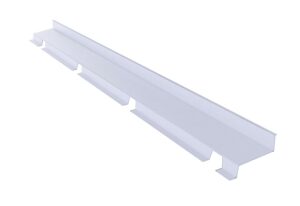
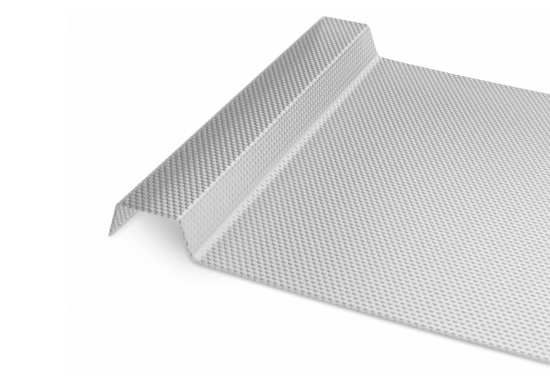
EZ Glaze® Wall Flashing Profile – 2M
£44.71 Inc VATAdd to cart